Three Ways to Install WordPress Plugin
There are three ways to install a WordPress Plugin:
- Search and install from the WordPress Dashboard
- Download from WordPress Plugin Directory and upload
- FTP unzipped plugin onto server and then activate
In this tutorial, we will walk you through these three methods installing three different plugins.
Method 1: Install Plugin from the WordPress Dashboard
This method is the fastest way to install a WordPress plugin. But it only works for plugin found in the WordPress Plugin Directory…
1. Go “Plugins -> Add New” in WordPress Dashboard
2. Type in the name of the plugin to install into the search field…

install wordpress plugin
3. After confirming the from the author and version that this is the correct plugin, click the install link in the search results.
Method 2: Upload And Install Downloaded Plugin
In this example, we will first download the “Simple Custom CSS” plugin from the WordPress Plugin directory located linked here. Although we are currently installing a plugin from WordPress Plugin directory, this method works for any plugin in which you have a zipped plugin file. (Or if you have all the files for the plugin, you can zip it up yourself). Method 2 and Method 3 are good for premium plugins that you purchased since these plugins are not searchable in the WP Dashboard.
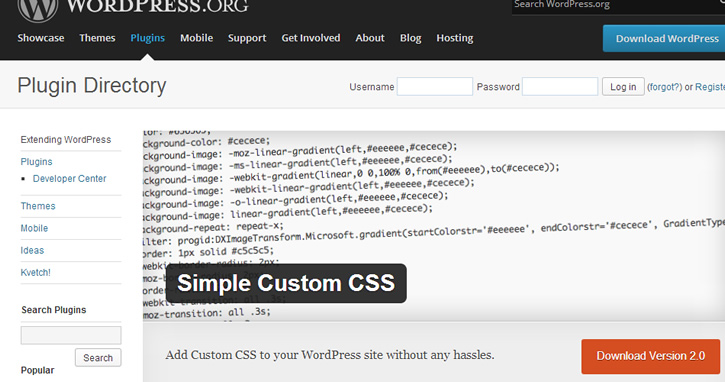
wordpress plugin directory
The version of the plugin that we downloaded is version 2.0 and we got the simple-custom-css.zip file in our downloads folder.
1. In the WordPress Admin Dashboard, go to “Plugins -> Add New”.
2. Click the Upload link in the “Install Plugin” page …
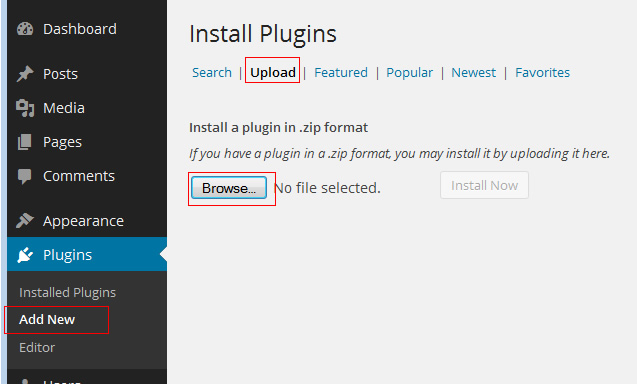
The Install Plugins page
3. Click the Browse button to select the downloaded zip file from your computer.
4. Click the “Install Now” button.
5. You should see status messages showing …
Unpacking the package…
Installing the plugin…
Plugin installed successfully.
6. Wait for the message “Plugin installed successfully to appear”.
Method 3: Install WordPress Plugin by Uploading to Server using FTP
In this method, you upload all the individual plugin file (typically contain in its own plugin folder) to the /wp-content/plugins/ on your server.
For the purpose of this example, we install the Database Browser plugin
After downloading and unzipping the file, we upload it to the server in this location …
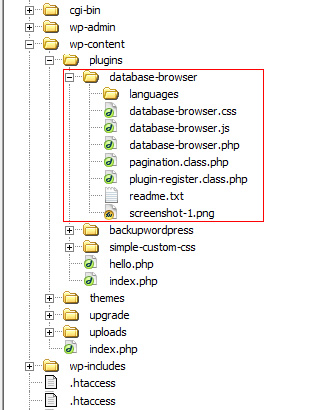
installed plugin location
That’s it, it is installed. To confirm, go to “Plugins -> Installed Plugins” and you will see “Database Browser” listed. But you still need to activate it.
Activate Plugins After Installation
Now that the plugins have been installed, you have to activate them before they can use used or take effect.
The first way to activate them is to click the “Activate” link found right after the plugin has been installed…
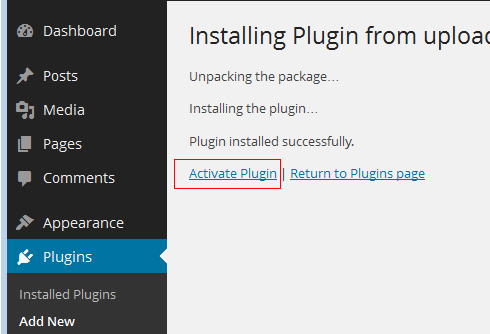
activate link
The second way is to Activate them from the Plugin listing page by going to “Plugins -> Installed Plugins” and click the activate link next to the plugin…
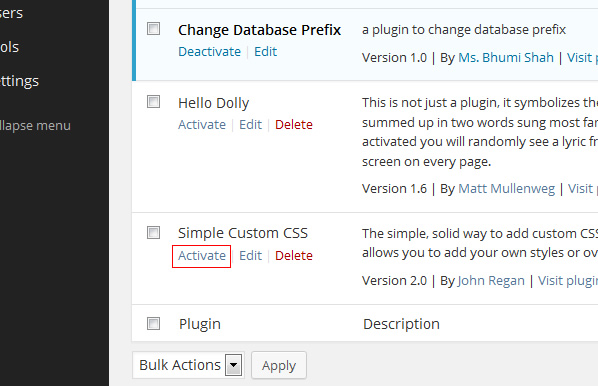
activate from plugins page
If the plugin in question do not have an activate link (but instead have an deactivate link), that means that the plugin is already activated.
By the way, if you want to uninstall any WordPress plugin, view this tutorial.


