Tutorial Intro to First Mobx React App
Posted in Tutorials


In this first intro tutorial to using Mobx statement managment for React apps, we are going to build a “To Do” app. I’m using Node 10 and npm 5.6.
Just like when learning a new programming language, we create a “Hello World” app; when learning a new framework like Mobx, we are going to build a “ToDo” app. User will be able to enter items to be shown in a To Do list, such as “Mow the lawn”, “Take out trash”, or “Walk 10,000 steps”, etc.
- Start with a starter app created by “create-react-app” as described in previous tutorial. We will call this app “todo”. So in terminal type ..
create-react-app todo
cd todo
2. In the package.json, you see an “eject” script which will will run …
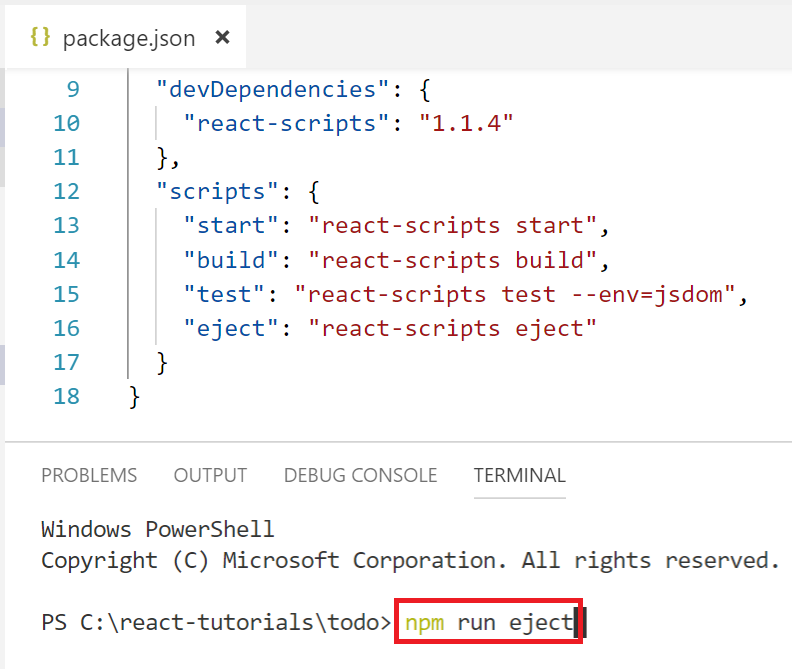
This will give us more control over the source files.
3. After ejecting, run …
npm install
and let’s start up the starter app with …
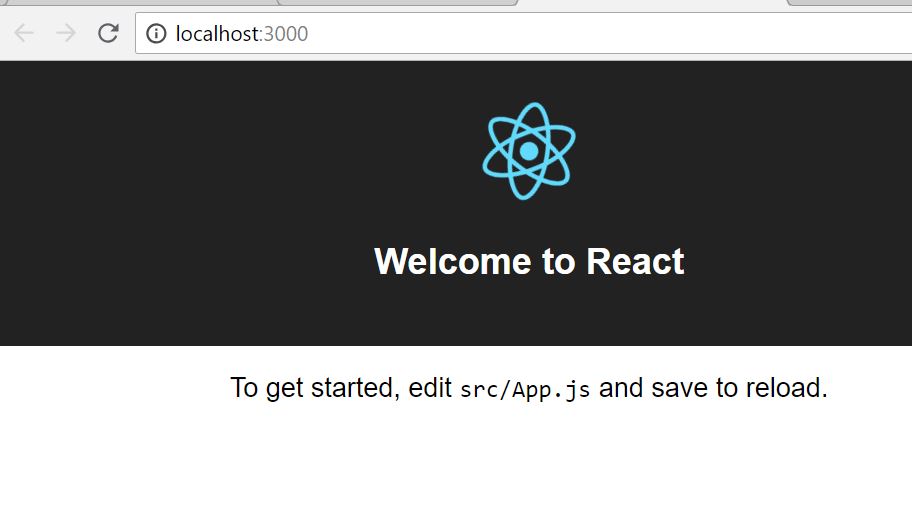
npm start
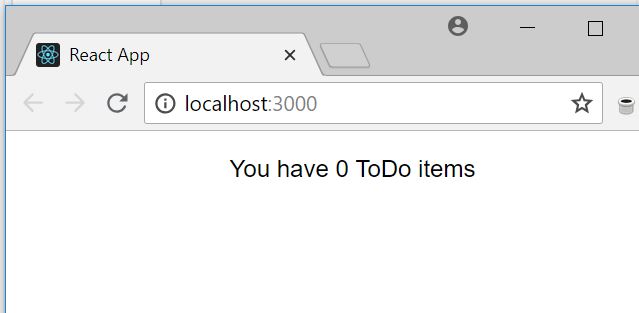
The starter app should come up like this …
4. Point your editor to the newly created app and drop in a ToDo component in App.js after deleting the un-necessary stuff from the starter app …

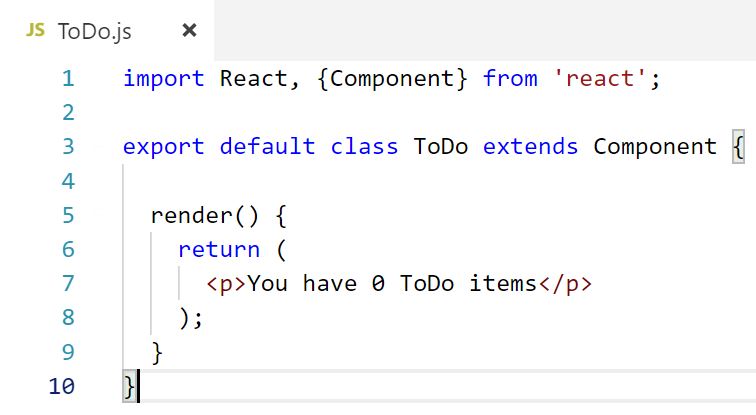
5. We created a new component in file ToDo.js in the “src” folder as shown above. The contents of which are …
4. At this point, your app should render like this…
5. So far we have not used mobx. But we will now. So we have to install npm packages “mobx” and “mobx-react”. The former is the “mobx” state management framework. The latter, help connect react and mobx together.
npm install mobx mobx-react
This installs and adds the dependencies to package.json.
6. With mobx, we create a “store” that will hold all of our application state. We add a new file called “ToDoStore.js” in “src” and define “ToDoStore” class as follows…
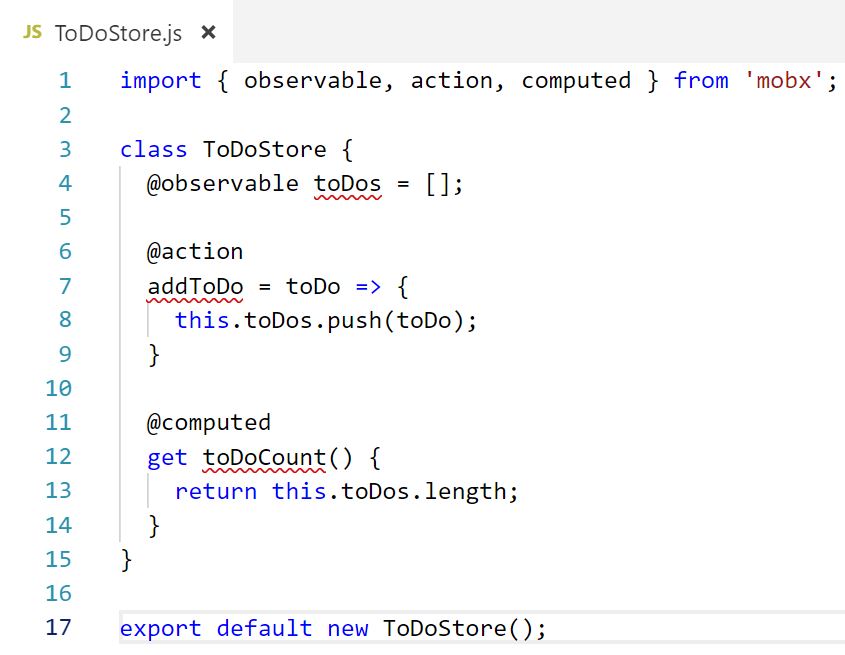
There are three things in this mobx store:
a. Observables: which are application states which components can access.
b. Actions: which are functions that changes the state.
c. Computed: which are values that are automatically computed as the observable state changes.
These items are preceded by decorators: @observable, @action, @computed.
Note that Actions in mobx are functions. Whereas, in Redux “actions” are objects and “action creators” are functions that create “action”.
Note also that we are not exporting the class ToDoStore, but we are exporting a “new” instance of it with …
export default new ToDoStore();
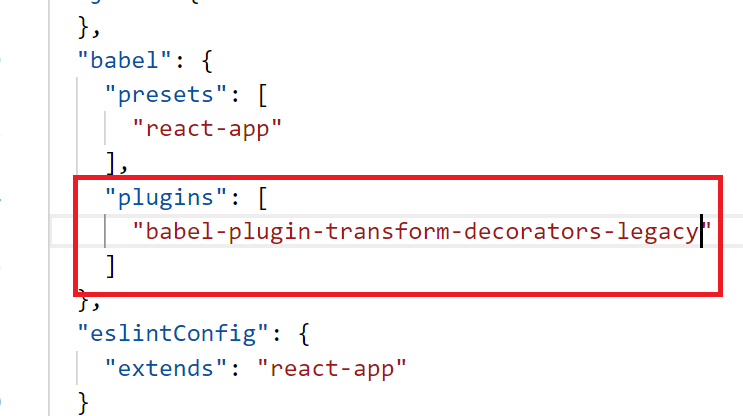
7. Because we are using decorators, we need to further install …
npm install babel-plugin-transform-decorators-legacy
8. and configure babel to use this plugin in package.json…
9. Do “npm start” to make sure app still runs.
10. Now we start to use the store in App.js as follows…
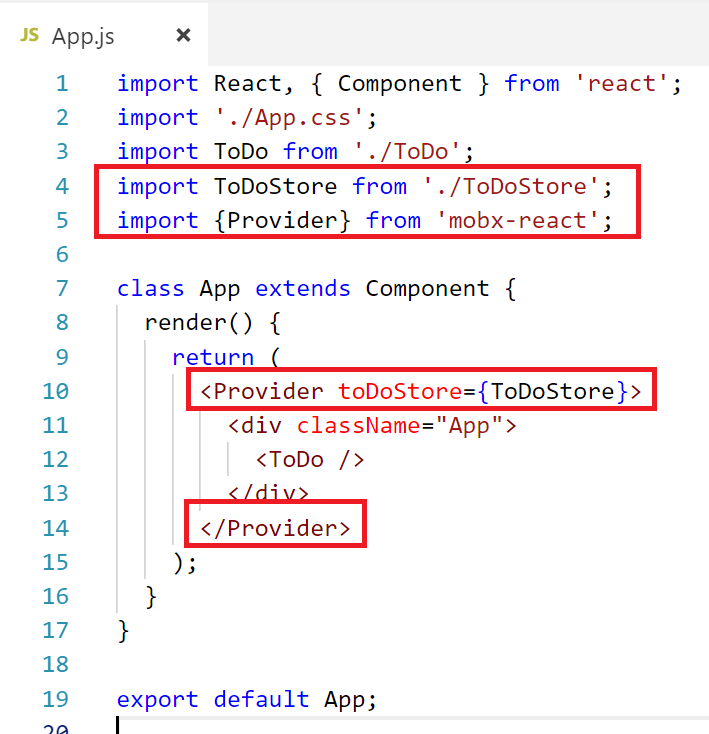
We import the “ToDoStore” and pass it as a prop to <Provider>. The name of the prop is arbitrary which I happened to named “toDoStore”.
Provider is from “mobx-react” and it should be a component very high in the hierarchy. Any child element under <Provider> will have access to the store (if configured). Note that <Provider> is a parent of <ToDo />
11. How does <ToDo /> use the store? The store is injected into the component like this…

And we make the ToDo class an “observer”. Note that “inject” and “observer” both comes from “mobx-react”.
12. Now the ToDo component can access the store’s computed property …
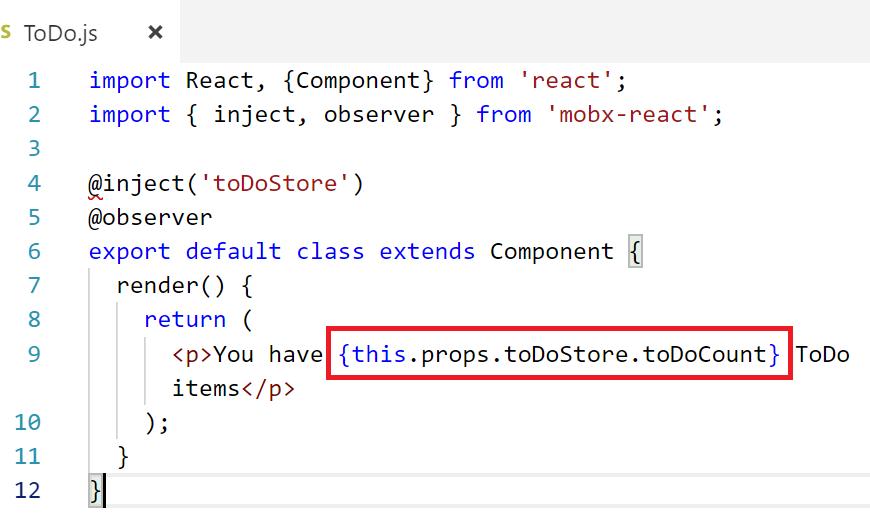
Look, the store is a prop!
You app should still render 0 items. But instead of a hard-coded zero, it is reading from computed property toDoCount.
13. Let’s add a form to add ToDo items …
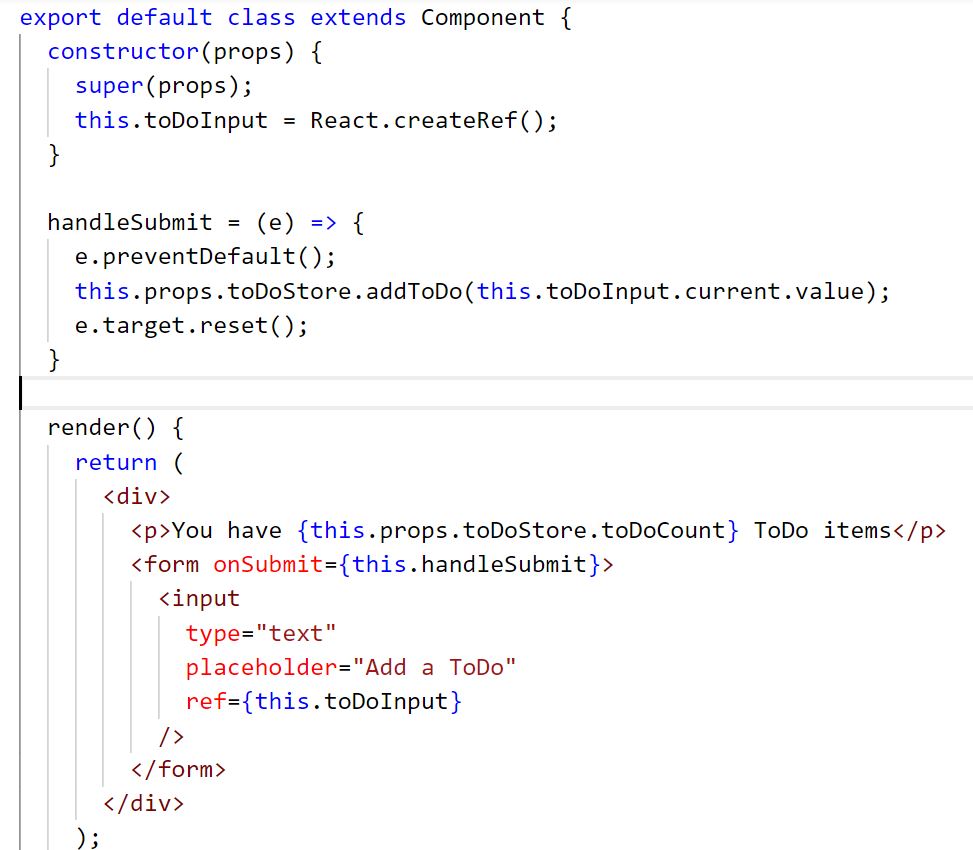
Note that when form is submitted, we call …
this.props.toDoStore.addToDo
to add item to our list. Try app, and you should see count increment as you add items.
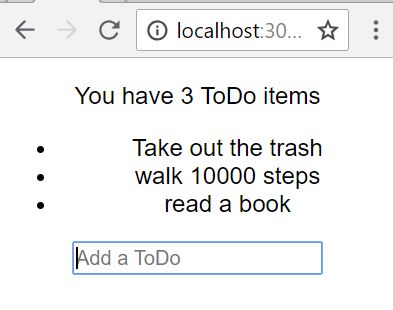
14. Now to display those items in an unordered list…

15. Test and see that it works.
For full source code of this tutorial, get the zip file from here.
In the next tutorial, we will learn how to do asynchonous fetch from API.
I also have a tutorial building the same ToDo app using Redux and compared the differences between Redux and Mobx.
Related Posts
Tags
Share This

