Creating a Linux virtural machine using VirtualBox
Posted in Tutorials


In previous tutorial, we installed VirtualBox, now we will create a virtual machine in our Windows host with the idea of using the virtual machine as a local development server running Linux Ubuntu Server.
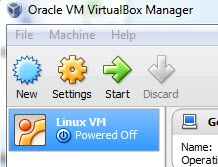
1. Open Oracle VM VirtualBox Manager and click “New” to create a new virtual machine…
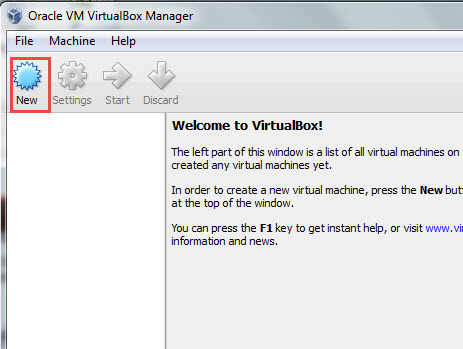
virutalbox manager
2. In the next dialog, we name our Virtual machine “Linux VM” and select the Linux operating system with “Ubuntu” as the version…
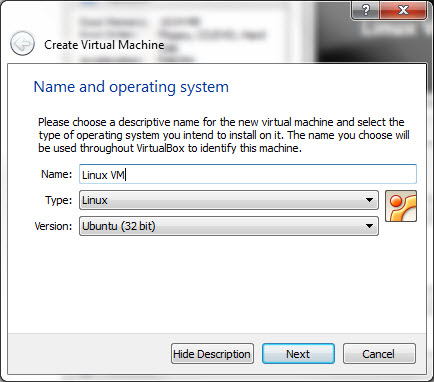
name our vm
The settings in this dialog does not install the OS, it just sets the type of icon shown.
3. In the next dialog, I allocate one GB of RAM to the virtual machine since I have 8 GB of RAM on my actual host Windows machine…
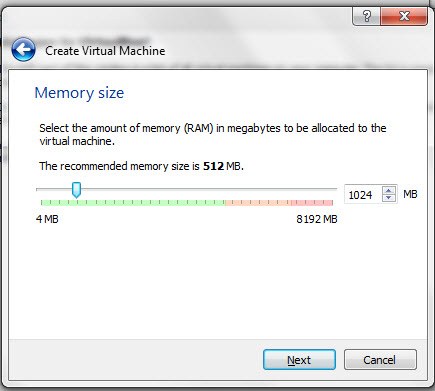
set memory
4. Next we select to “create a virtual hard drive”, which is actually going to be one big file on the host machine…
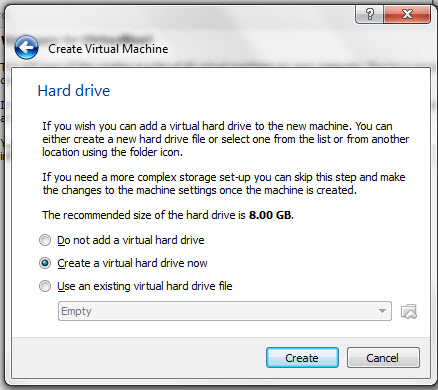
create virtual hard drive
5. In the next dialog, select the default of “VDI” for the hard drive file type …
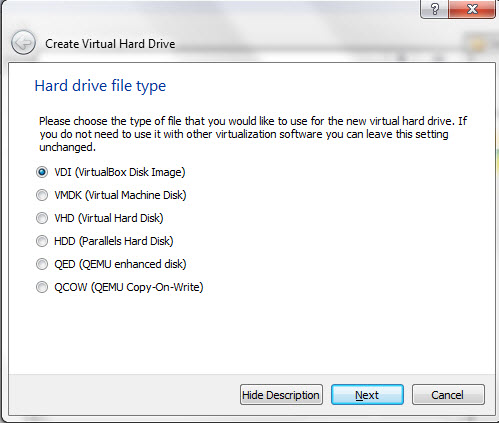
hard drive file type
6. Then we choose a fixed size virtual hard drive …
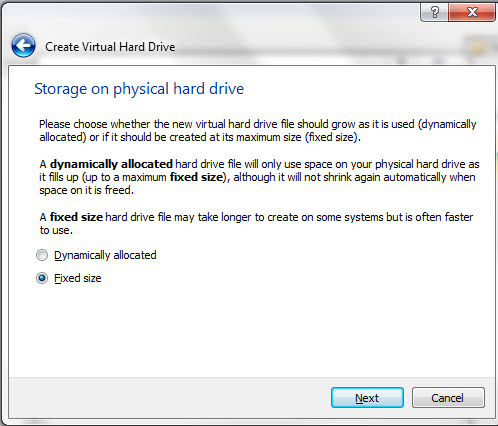
fixed size hard drive
7. with 8GB as the default size …
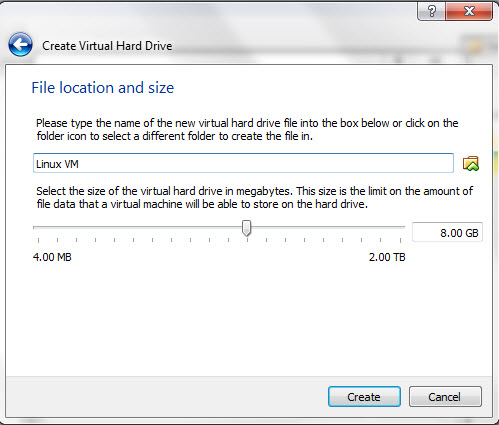
default 8GB size
8. After the virtual disk finished created, the new virtual machine is created, but powered off…

created virtual machine
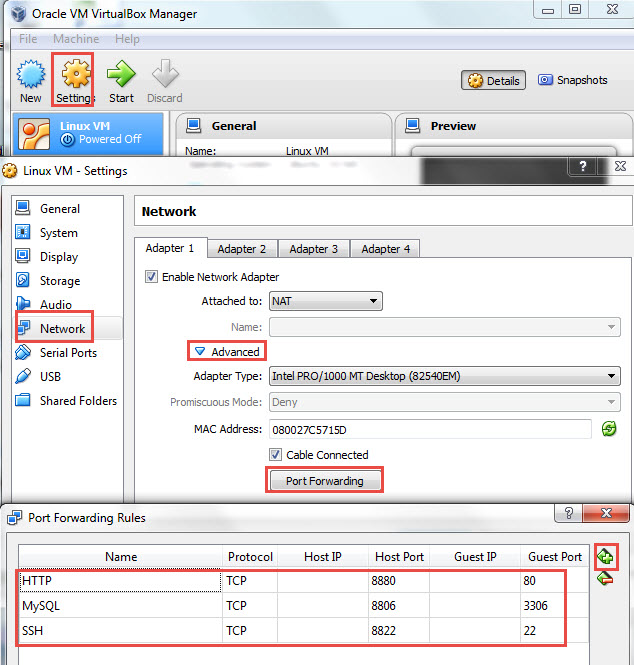
9. In the Settings, we are going to create some port forwarding to forward ports from the host machine to the virtual machine. Go to “Settings -> Network -> Adapter 1 -> Advanced -> Port Forwarding” and click the add icon to add 3 port forwarding for HTTP, MySQL, and SSH as shown …
vm settings
This mean that when port 8880 is accessed on the host machine, it will go directly to port 80 of the virtual machine. Port 80 is the standard default HTTP port. While it is okay to arbitrarily pick 8880; many people like using 8080 to port forward.
The ports 8880 and 8806 and 8822 are arbitrary. And 80, 3306, and 22 are the standard ports for HTTP, MySQL, and SSH.
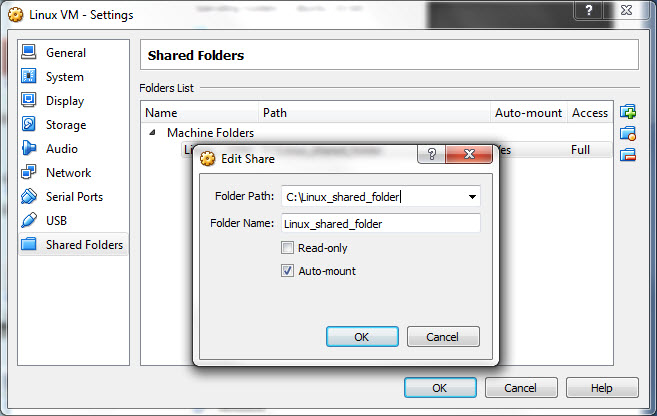
11. We want a shared folder between the host and virtual machine to easily exchange files between the two. On the desktop of the host machine, we create a new folder “Linux_shared_folder” on the C:\ drive. In the VirtualBox Manager, select that as a new shared folder…
create shared folder
12. VirtualBox does not come with Linux or any other operating system. So we have to download Linux Ubuntu Server from http://www.ubuntu.com/download/server
We decided to install the 32-bit ISO …
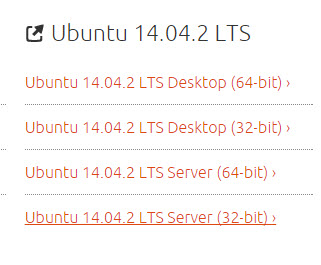
select ubuntu server 32-bit
instead of the 64-bit because, we were getting this error message “This kernel requires an x86-64 CPU, but only detected an i686 CPU.” when installing Ubuntu on the virtual machine.
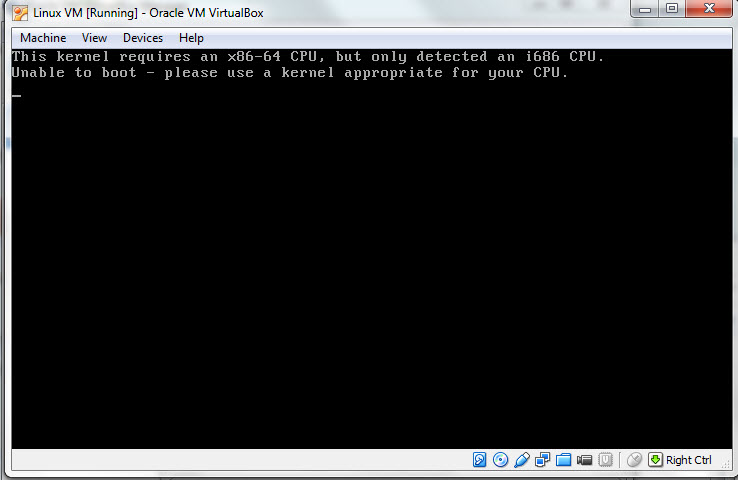
kernel require an x86-64 CPU
13. Before we power on our Virtual Machine, we have to put this Ubuntu ISO image in the virtual CD drive. Go to VirtualBox Manager settings as shown and select the ISO file you just downloaded.
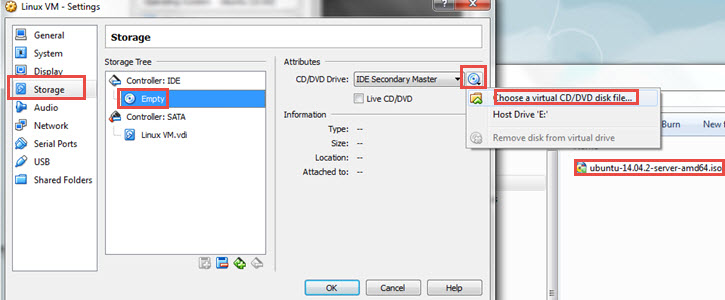
put iso file in virtual CD
14. Now we power on the virtual machine by selecting the Linux VM virtual box selection, which currently says “Powered Off”and then clicking the green start arrow…
power on virtual machine
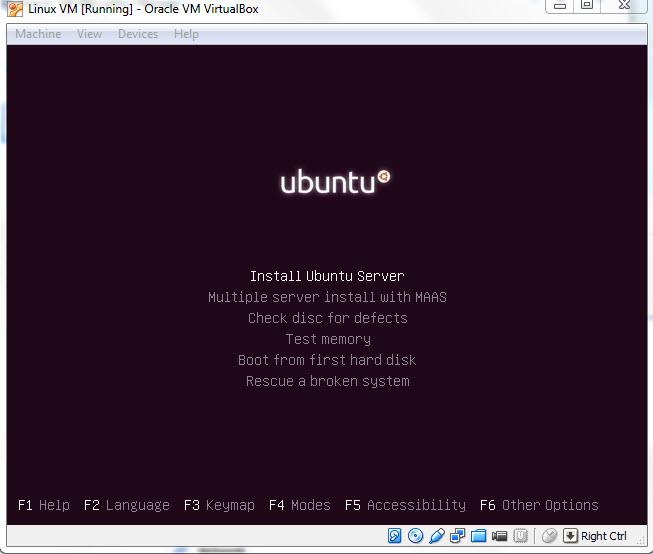
15. The virtual machine comes up in a window on your host machine and the Linux install screen come up for you to install Linux on the virtual machine. Note that VirtualBox displays a note about auto-capture keyboard ..
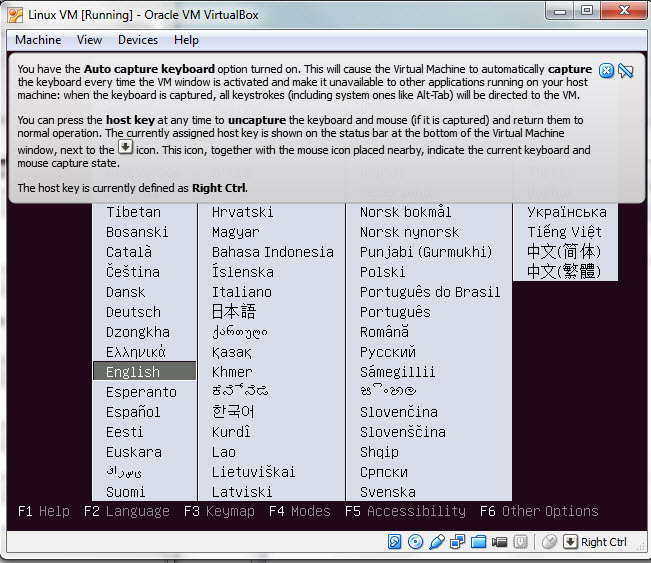
Linux install screen
We selected English.
16. If you need to stop the virtual machine, power it off in the VirtualBox Manager, by right-clicking on the Linux VM virtual machine …
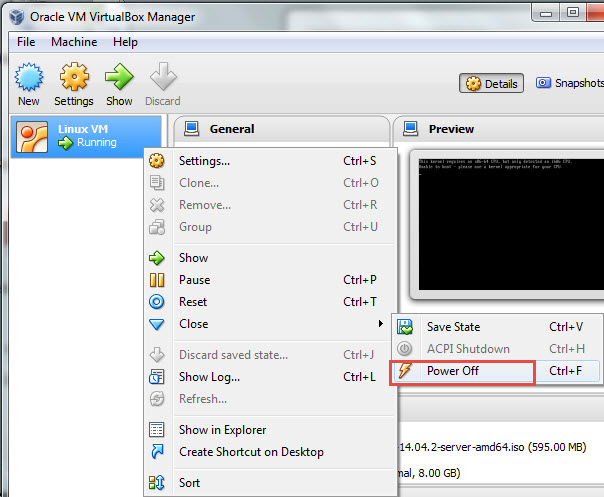
power off virtual machine
And if you ever need to delete the virtual machine completely, power it off first and then right-click and remove…
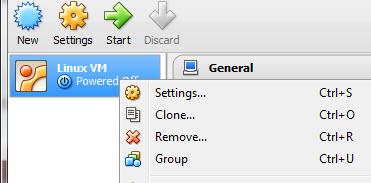
removing virtual machine
17. Then select “Install Ubuntu Server”.
install ubuntu server
You get another language screen like this …
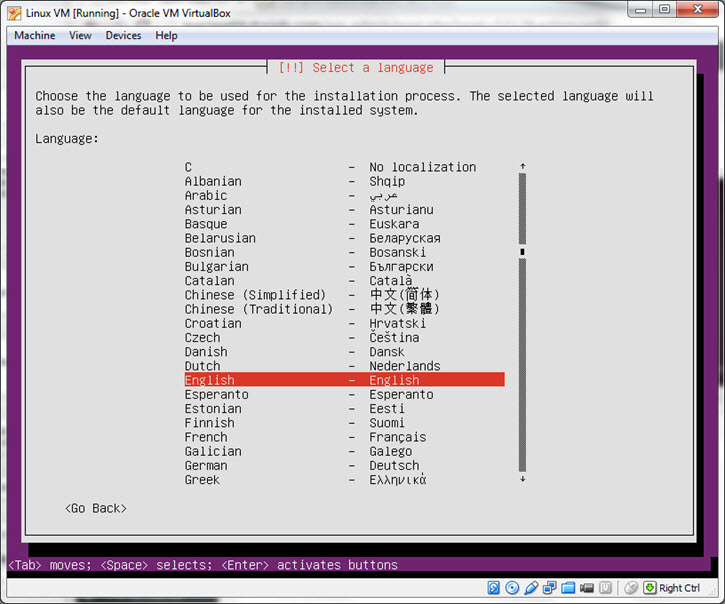
select language screen
Go through the rest of the installation, selecting “No” when asked to detect keyboard layout. Instead, select the keyboard of your country.
18. Then enter the hostname of the virtual machine. You can make something up or use the default…
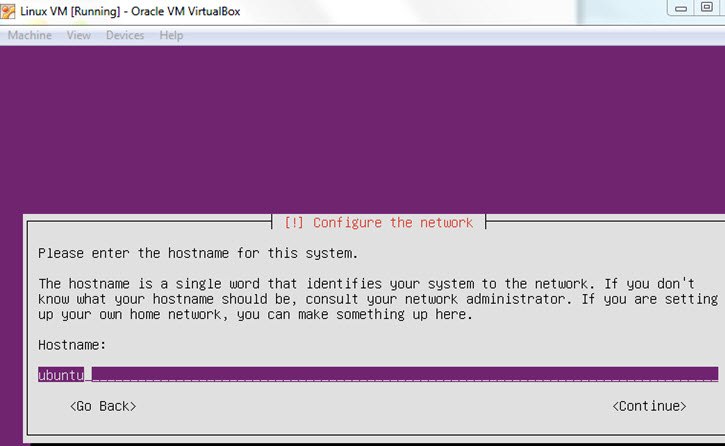
select hostname
19. Then it will ask to create a user account asking for your name, username, and password that you come up with.
20. When asked if we want to encrypt our home directory, we selected “No” because we are only using this virtual machine for development purposes.
21. Then select time zone.
22. When we get to the Partition disks section, we went with the defaults and said yes when asked to write changes to disks …
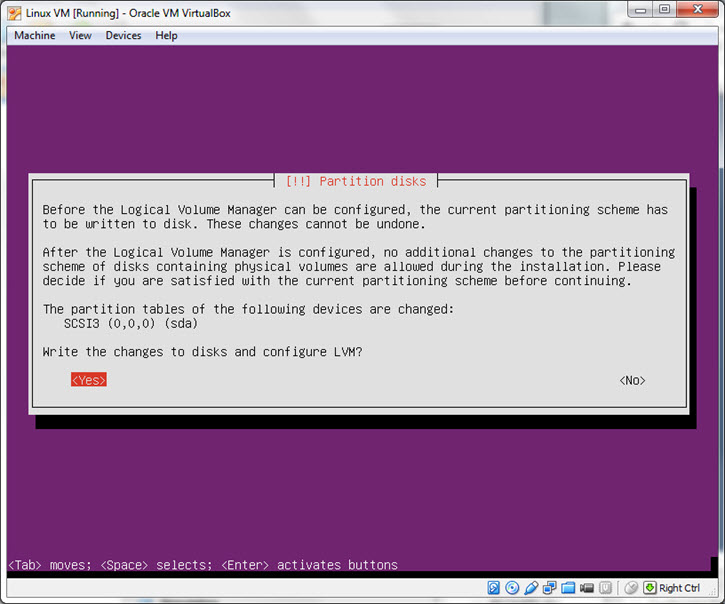
partition disks
23. You can leave the HTTP proxy information blank on this screen…
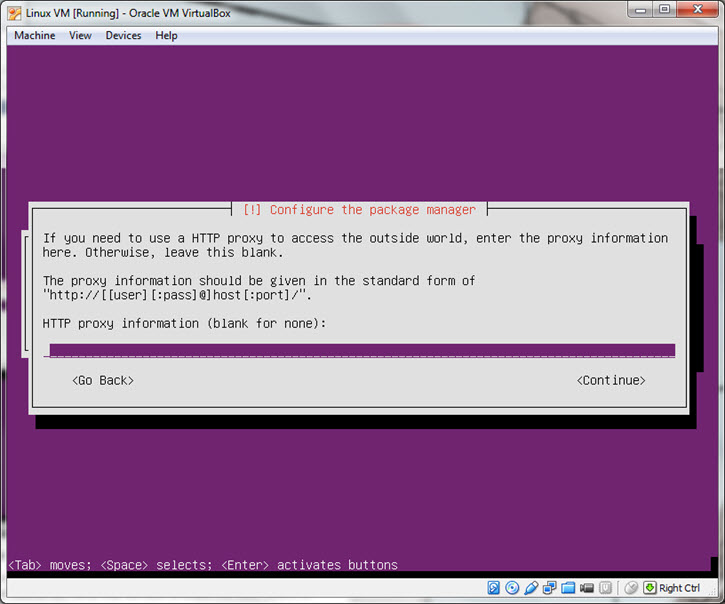
http proxy information blank
It will then start configurating “apt”, the package manager for this flavor of Linux.
24. Since this is a development server, we’ll manage updates manually. So we selected “no automatic updates” on the next screen.
25. In the software selection screen, we select “OpenSSH Server” and “LAMP server”. Because we want to be able to SSH to this virtual machine, and this will be our development server for LAMP applications. So it will install and configure Apache, MySQL, and PHP. During the process, it for you to pick a MySQL root user password to be set.
26. Then say “Yes” to installing the GRUB boot loader to the master boot record.
27. When the installation is completed, select Continue …
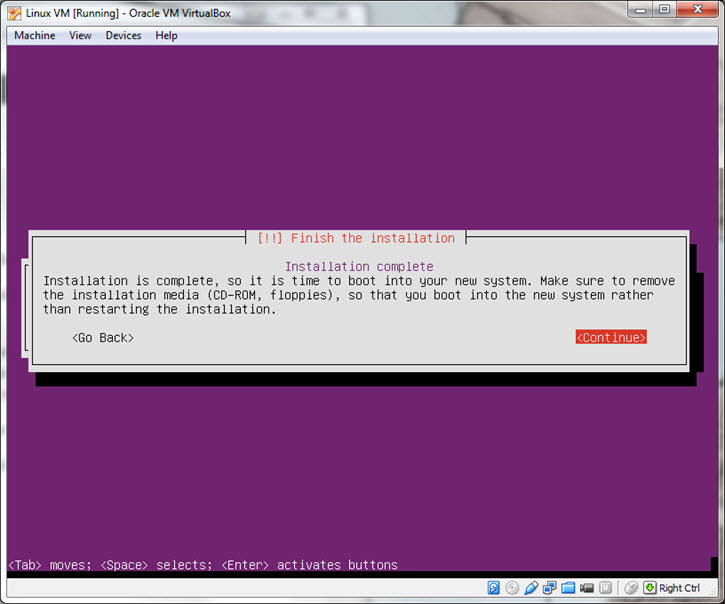
installation finish
And the virtual machine will reboot to a login prompt, where you enter the login and password created in the previous steps.
28. After logging in, you want to update the system with …
sudo apt-get update
sudo apt-get upgrade29. Type exit at prompt to logout.
30. In addition to logging into the VM at the Virtual Machine prompt, you can also SSH to your virtual machine from your host machine. On Mac, you can use the “Applications -> Utility -> Terminal”. On Windows, you can use putty, which you can download and install.
The three pieces of information needed is the (1) hostname (as specified in the installation steps — in our case it was “ubuntu”), (2) SSH port of the host machine that is forwarded to the VM (from screen shot of above steps, it was 8822), and (3) the username/password we created.
On Mac use -p to specify the port. For example, in Terminal…
ssh -p8822 username@ubuntu
On Windows putty, the host is “localhost” and put in the port …
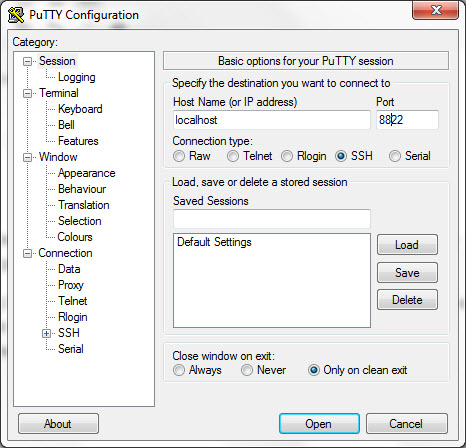
using putty
Since this is the first time connecting, you may get this dialog…
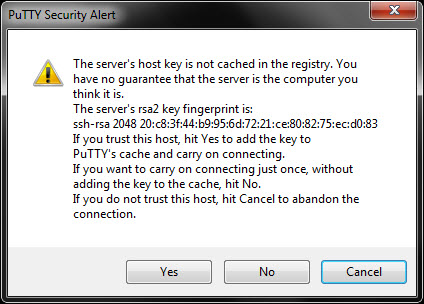
Host key not cached
If this is the first time connected to the VM, it is okay to say Yes. Now you get the login prompt of username/password to connect to the VM.
Type exit if you ever want to logout.
31. Recall that we redirect Host port 8880 to virtual machine port 80. That means that if you put web files in /var/www/html on the virtual machine. We should be able to see that web page on the browser of the Host machine when we point it to http://localhost:8880
And yep, we do…
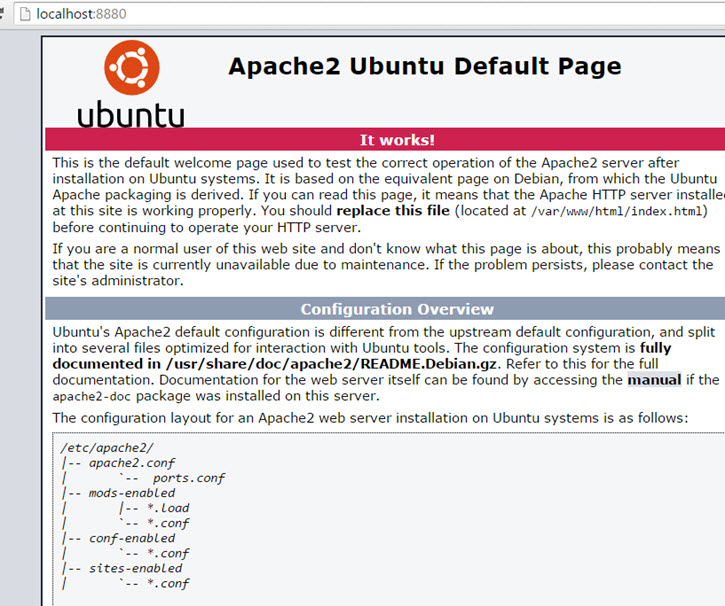
default ubuntu page
because there is already an default index.html page in /var/www/html
Try putting a PHP file there to see if PHP is working. You can use the nano editor (it appears to be installed). You might need to use “sudo”. It works for me. Apache on the virtual machine is working.
However, one thing that I could not get to work is the shared folders between host and guest.
As you can see, it is quite a bit of work to setup a virtual box manually. Alternatively, we can use Vagrant that will set up a virtual machine for us. Learn how in this tutorial.
Related Posts
Tags
Share This

