Adding a Featured Image to a Post in WordPress
Posted in Tutorials


In the Twenty Fourteen WordPress theme, you can add a featured image to a post or a page.
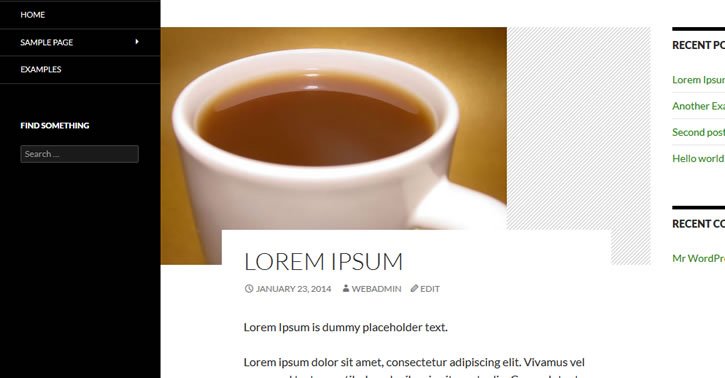
For the purpose of this example, we will add a featured image to a post so that it will end up looking like this …

featured image example
Here is how…
1. When you are editing a post in “WordPress Dashboard -> Posts -> All Posts”, click on “Screen Options” and make sure “Featured Image” is checkmarked…
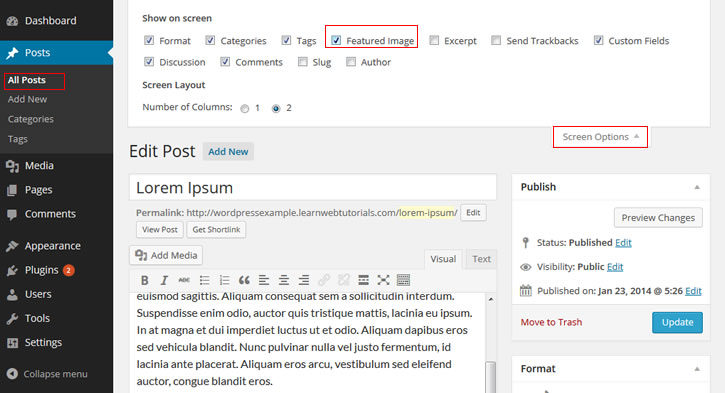
featured image option
2. That way, the “Featured Image” panel will be shown. Click the “Set Featured Image” link …
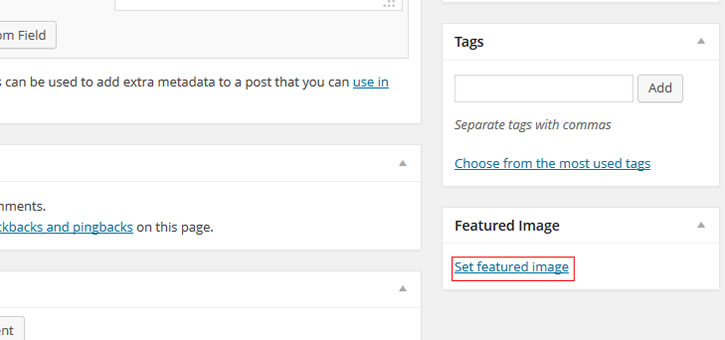
click the set featured image link
3. A file upload dialog will come up. In the “Upload Files” tab, select the file to be used as the featured image for that post. Or you can drag the photo from your computer to the dialog.
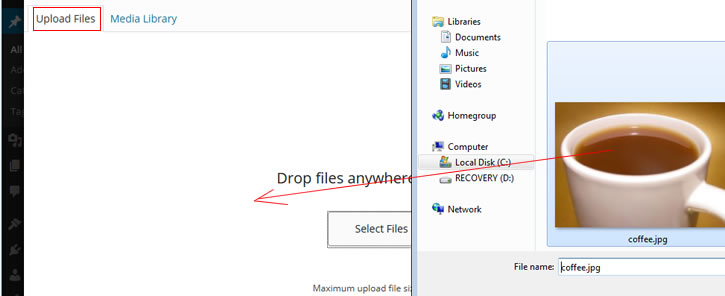
upload featured image
4. Your featured image is now set as shown in the Featured Image panel…

featured image set
If you ever want to remove the featured image, there is a link “Remove featured image”.
5. Save the post.
6. Make sure that your image is at least 672 pixel wide, otherwise it would not fill up the full length of the spot when the browser is resized to be very wide …
example of featured image not wide enough
If you are planning on using the posts as a featured post in the homepage slider, then the featured image should be at least 1038 x 576 pixels in dimension.
7. If you need to upload a new featured image, edit the post, remove featured image, and set featured image again.
Here is what a correctly sized featured image would look like in a post …
featured image example
With a featured image set in a post, you can set this post as a “featured post” to be displayed on the homepage, see next tutorial to learn how.
Related Posts
Tags
Share This

