How to Enable Trusted Host Settings in Drupal 8
What many Drupal 8 installation tutorials forget to mention is that you should also enable trusted host settings. This is to prevent Host Header attacks on your site.
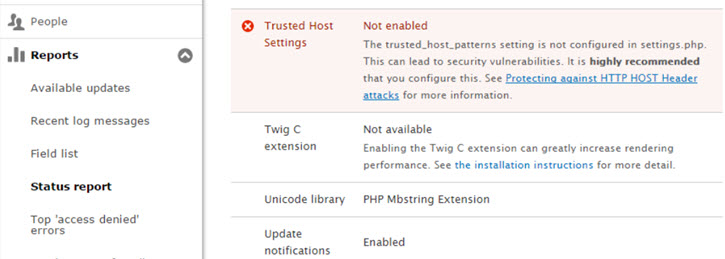
In Drupal 8’s “Reports -> Status Reports”, you will see …
if you did not enable the settings.
Here is how to enable Trusted Host Settings …
- Open the /sites/default/settings.php file and look for the section “Trusted host configuration” …
2. And add the lines as shown above (replacing “example” with your domain name, and replacing “.com” with your domain suffix). This will allow for all subdomains in example.com to be marked as safe.
3. If you want to allow only www subdomain or no domain, then you do this instead …
$settings[‘trusted_host_patterns’] = array(
‘^example\.com$’,
‘^www\.example\.com$’
);
4. Because settings.php is a read-only file. You may need to go into the cPanel of your host and change the file permission to “777” temporarily before it allows you to write to the file. Then after saving the changes, or using SFTP to pull down the file and upload again, remember to change the permission back to the way it was (for example 555 for non-writable).
5. Now re-run the status report and you should see …


