Updating Javascript Alerts to SweetAlert
Are you still using Javascript alerts on your webpage? Like this …
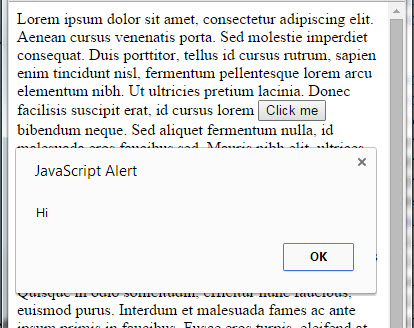
javascript alert in Chrome
That was common a decade ago. Now they make the web application look dated. Sure you can build fancy modal dialogs and inline messages that appears. But a quick and easy way to replace your Javascript alerts is to use the SweetAlerts library. In this tutorial, we will show you how to make it look more like this …
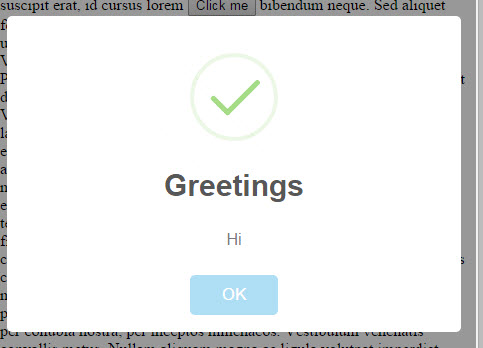
success dialog
1. Here we have a page with a button that when clicked produces a Javascript alert saying “Hi”…
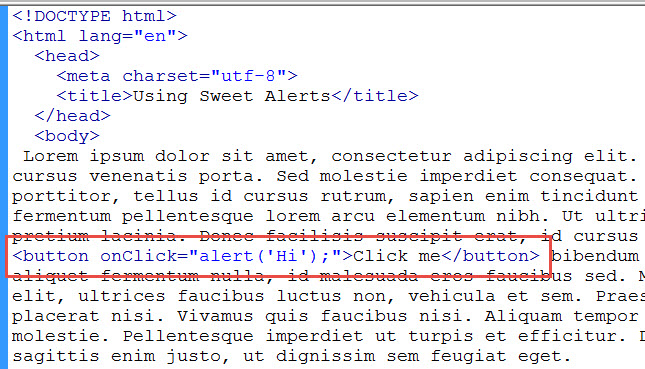
button with Javascript
The particular browser will render the alert box will render differently depending on the browser. In Chrome, it looks like as shown previously. In Firefox, it looks like this …
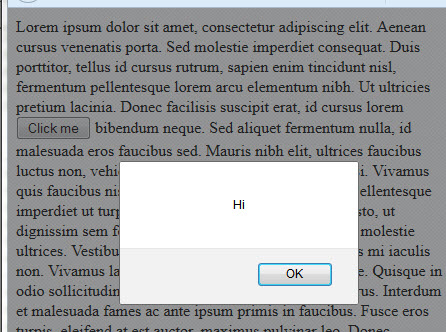
Javascript alert in Firefox
And in Internet Explorer 11 …
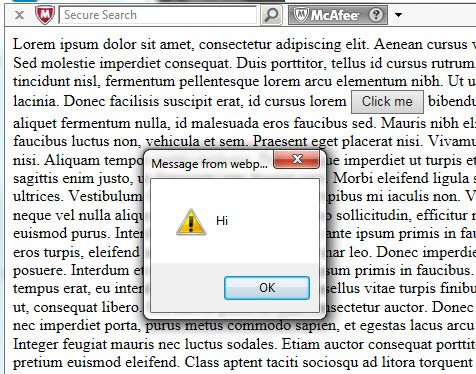
Javascript alert in Internet Explorer
To add SweetAlerts to your webpage …
1. Go to http://tristanedwards.me/sweetalert and download the files.
2. Unzip and within the “lib” folder, find the files sweet-alert.css and sweet-alert.min.js and copy them to your web where your web app. There is also the sweet-alert.js in case you want to tweak the Javascript. And there is sweet-alert.scss in case your want to tweak the CSS and are using a CSS preprocessor. But the two files sweet-alert.css and sweet-alert.min.js are all that you need. There is no other dependency. No need for jQuery. The sweet-alert.min.js is already minified for you.
3. In your HTML, you reference the two files …
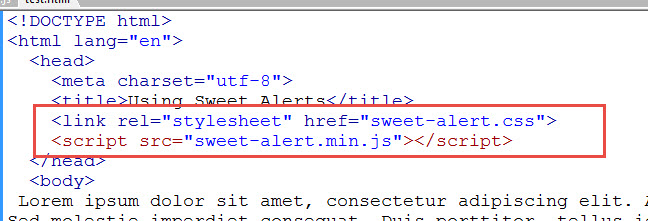
reference the sweetAlerts files
4. Then change your Javascript alert call sweetAlert instead…
sweetAlert(”, ‘Hi’);

call to sweetAlert
Our message goes in the second parameter. We leave an empty string for the first parameter for now.
5. If you are testing this locally on your machine or without an internet connection, it might not load. But if you put on server, it will. This is because in sweet-alert.css, it is importing some Google fonts…

remove the import fonts
I would rather just remove that @import statement and keep the file load light. It would still work.
6. This is what we get …
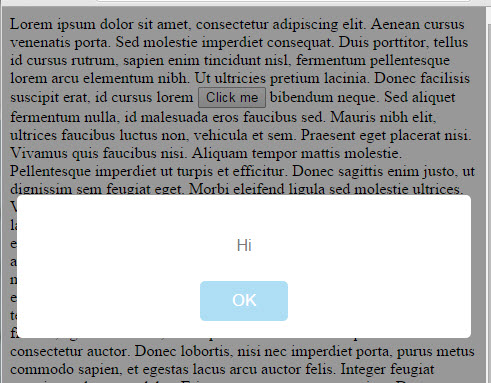
Hi from sweetAlert
Sweet alert options
The first parameter to the sweet alert function specifies the text for the title bar of the dialog. For example this is how you display a dialogue with a title bar of “Greetings”…

Specify title in dialog
And it looks like this…
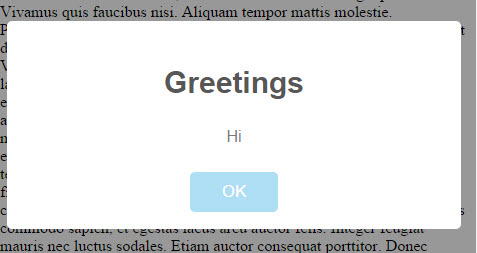
dialog with a title
The third parameter to the function gives you the option to display an error, warning, success, or info dialog with the corresponding icons. For example, these four calls results in the following
sweetAlert(‘Greetings’, ‘Hi’, ‘error’);
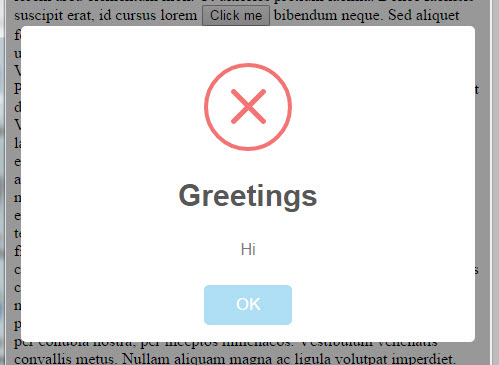
error dialog
sweetAlert(‘Greetings’, ‘Hi’, ‘warning’);
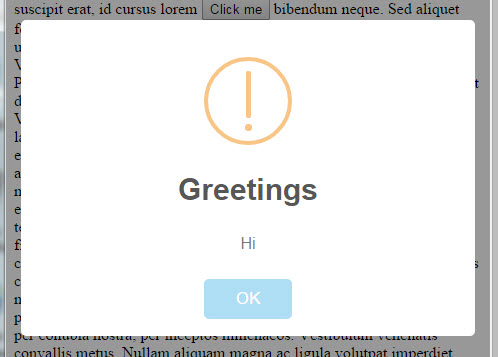
warning dialog
sweetAlert(‘Greetings’, ‘Hi’, ‘success’);

success dialog
sweetAlert(‘Greetings’, ‘Hi’, ‘info’);
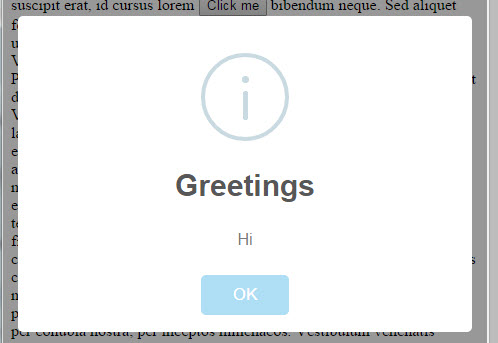
info dialog
Replacing confirm dialog with sweetAlert
If you are using the JavaScript confirm dialog with Okay and Cancel buttons, you can also replace it with sweet Alert. For example, with JavaScript you would typically do something like this …
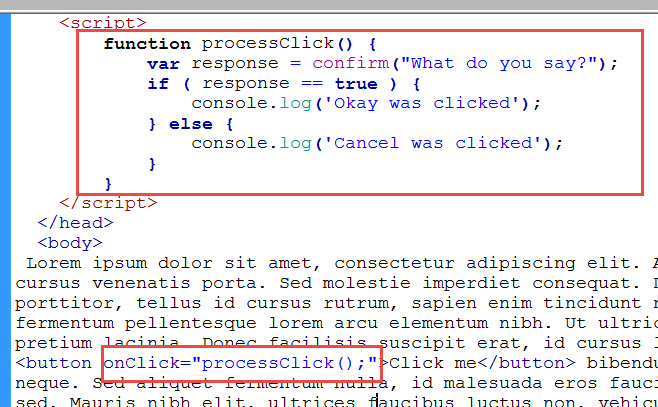
That results in a Javascript confirm dialog which detects if OK or Cancel is clicked …
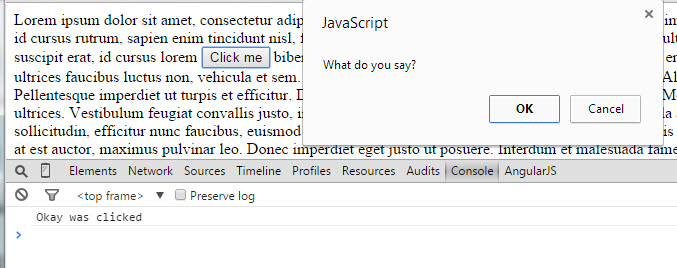
Javascript confirm dialog
With sweetAlert you would do it like this …
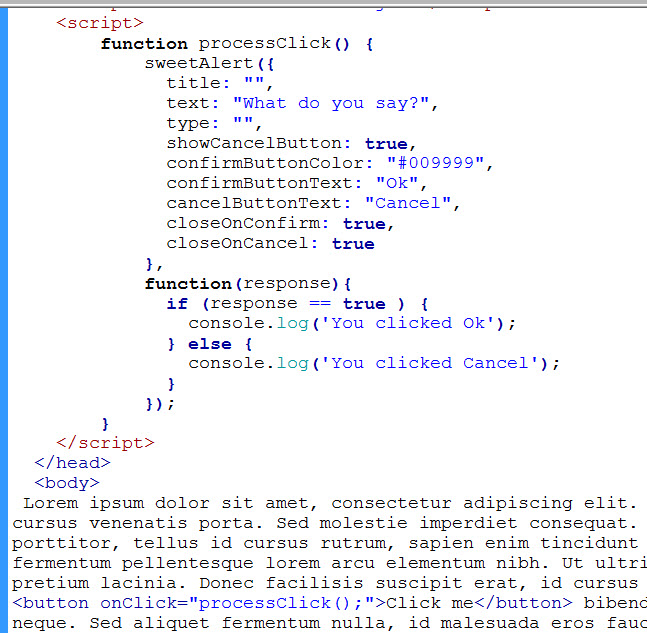
equivalent using sweetAlert
which would result in …
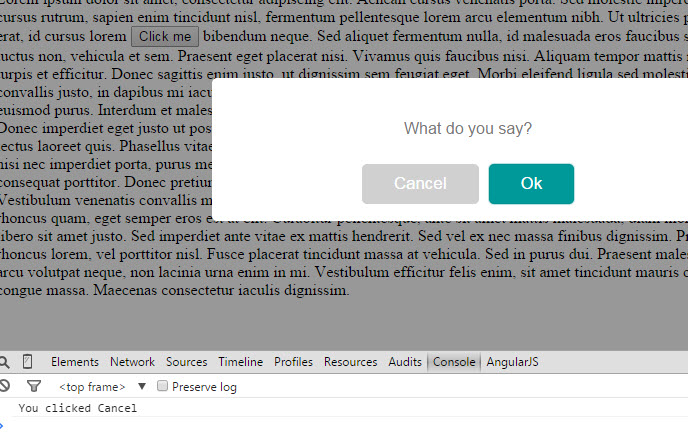
sweetAlert with okay and cancel button
The cancel button can be invoke with the Esc button and the Ok button can be invoked with the Return key. Note that this time the sweetAlert call takes two parameters. The first parameter is an object with properties of the dialog such as title, text, and type of dialog. The second parameter is a function whose parameter tells you which button the user clicked on.
You have more control than with the Javascript confirm dialog. You can set the text of both the confirmation and cancel button and the color of the confirmation button.
There is also an auto close timer feature and ability to set your own icon image.
CSS Styling
If you find that the text is too light in the dialog, you can adjust its color in the sweet-alert.css file here …
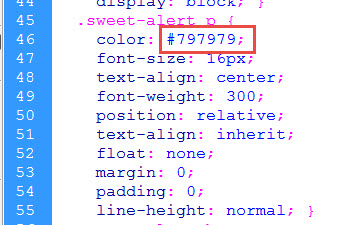
color for the text of the dialog


