Tutorial on how to install Joomla 3
Posted in Tutorials


In this tutorial, we will install Joomla 3 on a shared webhost.
1. From the joomla.org site, download the latest stable version of Joomla. At the time of this writing, we are using Joomla 3.2.3. The download will come as a zip file.
2. Unzip and upload to your web server. If your are able to unzip a zip file that is on your webserver, it will be faster if you upload the zip and then unzip it afterwards.
3. While it is uploading, you can create a MySQL database on your webhost as described in this tutorial.
4. In your browser, navigate to the location of the uploaded and unzip Joomla files. You should see the installation screen …
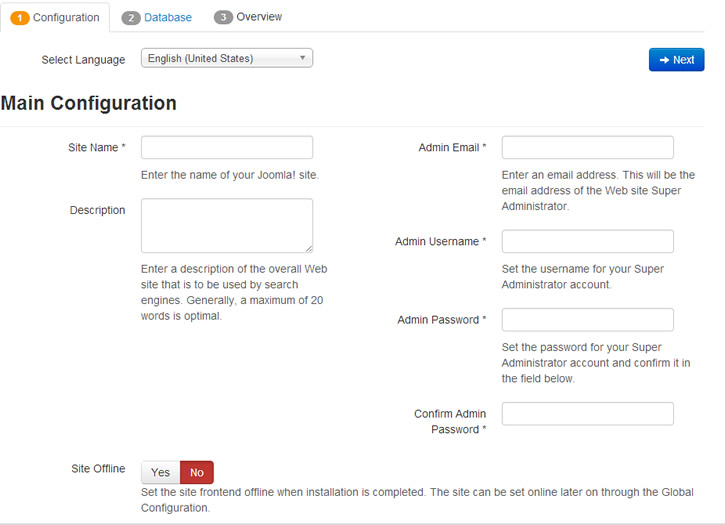
joomla installation screen
5. Fill in the information in all three tabs. Supply the admin username and password, this will be the Super Administrator account. Clicking the blue Next button in the upper-right will take you to the second tab where you will enter the database information. It will give you a chance to enter a database table prefix (make sure this prefix does not match any other database table prefix on the database). And it needs to end in an underscore.
In the third tab, you will have the opportunity to decide if you want Joomla to be installed with test dummy placeholder data. Review and make sure the pre-installation checks are all green…
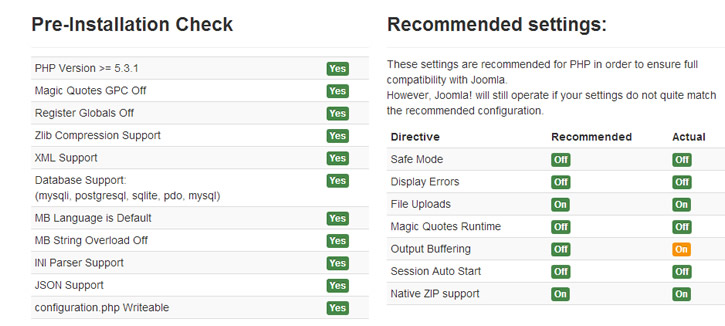
joomla installation check
6. click the blue install button in the upper-right of the page. That’s it. Joomla is installed…

installation done screen
In the installation-done page, you will have the opportunity to install languages if you need that.
7. Click the orange button to “remove installation folder”.
8. Click the “Administrator” button to log in as administrator. Click “Site” button to see your site. If your site is for example …
http://www.example.com
Then the login page for the site is …
http://www.example.com/administrator
Use the username and password that you had typed in the previous steps.
9. After logging into the admin control panel, you may see Joomla’s post-installation message …
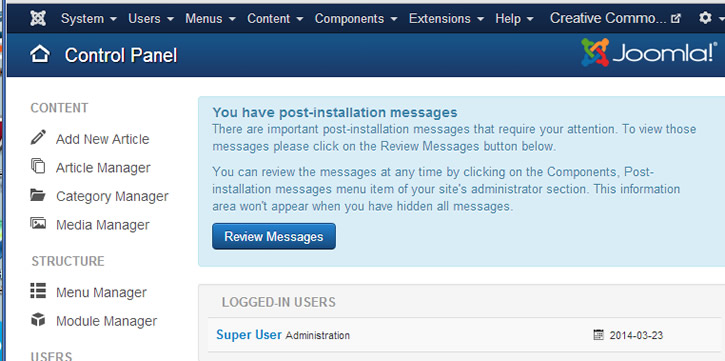
- You can disable the post-installation message by this tutorial.
- An example of a Joomla 3 fresh install with no test data looks like …
-
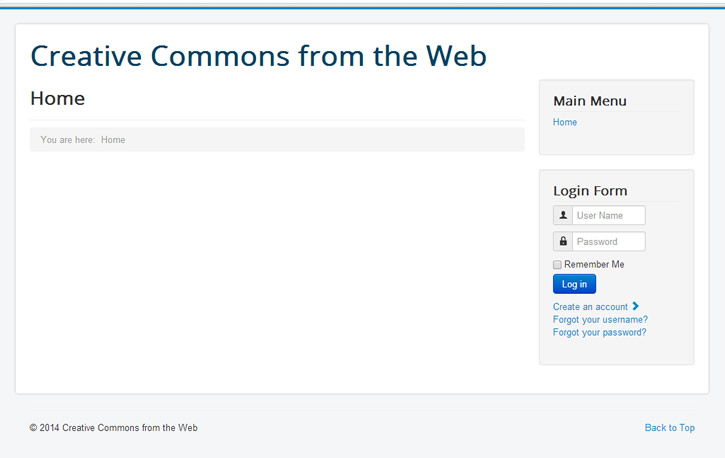
joomla fresh install
But note the the login form shown here is not the administrator login. This is the front-end user login (not the same).
For additional reference on the installation procedure see Joomla Installation Docs
Related Posts
Tags
Share This

