Tutorial on Getting Started with Mustache Template in PHP
Posted in Tutorials


In this getting-started tutorial, we will show you how to use the mustache templating system in PHP. The main mustache template is http://mustache.github.io/ And it documentation is linked here.
They call themselves logic-less templates, because there are no template tags for if-else and loop conditional logic (not necessarily a drawback).
The problem with PHP is that there is too much PHP code interspersed within HTML. And if you do <?php echo $somestring; ?> intermixed in HTML, its gets kind-of difficult to read. Hence a templating system comes into play.
1. Mustache works with many languages. On the main mustache template site, click on the PHP link to get “mustache.php” from github.com. Just click the “Download Zip” button. This is a set of PHP files. The project is called “mustache.php” even though there is no such file “mustache.php” in the project.
2. When you unzip mustache.php-master.zip, you get a folder mustache.php-master. Inside that you find bin, src, test, vendor, and other files. Go inside src and you find the folder Mustache. If this folder contains the autoloader.php file, then you got the right folder. Copy the Mustache folder to the root of your PHP application. We created a new PHP application called firstmustache with an initial index.php file. So now our PHP directory of our application looks like this …
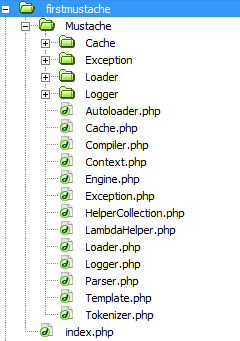
mustache directory structure
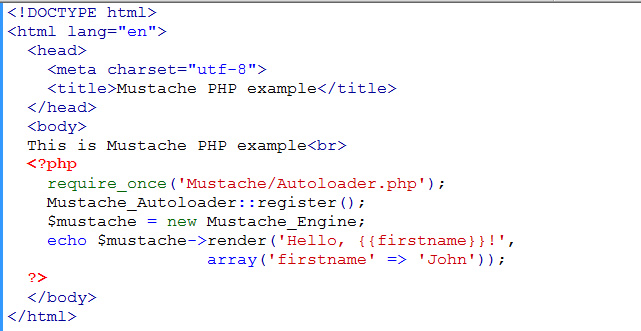
3. Write the following in index.php …
basic mustache example
These lines …
require_once(‘Mustache/Autoloader.php’);
Mustache_Autoloader::register();
will autoload Mustache.
Then we create an instance of the mustache engine with …
$mustache = new Mustache_Engine;
With the mustache instance, we can call render() method to render templates …
echo $mustache->render(‘Hello, {{firstname}}!’, array(‘firstname’ => ‘John’));
The render method takes two parameters. The first being the template. The second being the array of data to fill that template.
The template contains placeholders variables delimited by double-curly braces such as {{firstname}}
So the PHP should output …
Hello, John
4. This is just an educational example. Production code do not inline the template in the render parameter as above. Instead, template files are placed in their own folders. So let’s create a folder called templates with a template file (currently empty) called welcomepage.mustache within it.
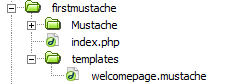
mustache templates folder
5. We need to tell the Mustache engine where this template folder is. Change index.php to …
require_once('Mustache/Autoloader.php');
Mustache_Autoloader::register();
$mustache = new Mustache_Engine(array(
   'loader' => new Mustache_Loader_FilesystemLoader(dirname(__FILE__).'/templates')
));
The Mustache_Engine constructor take an array of options. One of those options is loader which points to the Mustache_Loader_FilesystemLoader object that knows the location of your templates.
6. Now we have our mustache engine load our template …
$template = $mustache->loadTemplate('welcomepage');
Now that our template is loaded into $template, we tell the template to render with some data…
echo $template->render(array('firstname' => 'John', 'visitorNumber' => 7));
7. This data will feed into our template. Put the following content into welcomepage.mustache …
<strong>Hello, {{firstname}}</strong><br>
<p>You are visitor number {{visitorNumber}}.</p>
8. You should get the following output …
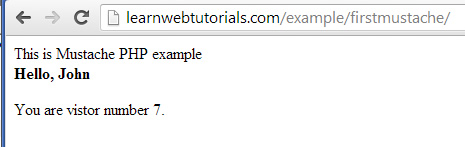
mustache template output
This is only a quick getting started tutorial. There is more to learn. In the next tutorial, we see the advantage of mustache converting special characters to HTML entities.
Related Posts
Tags
Share This

