How to Install WordPress on Webhost
Posted in Tutorials


In this tutorial we will be installing WordPress on our webhost.
1. Download the zip file of the latest version (in our case it is 4.1) from https://wordpress.org/
2. Upload the zip file to webhost and extract it (see tutorial here) so that index.php file and its neighboring files and sub-folders are at the document root folder of your webhost for that site. It should look like this in the cPanel’s File Manager …
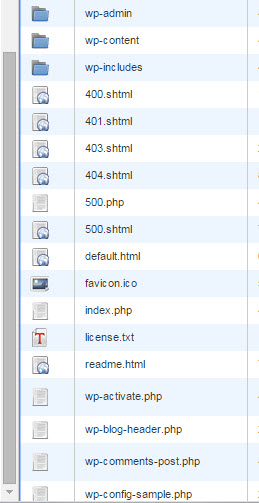
wordpress files
3. Create a database for the WordPress site by following this tutorial.
4. In your browser go to your website hitting the index.php file and you should see the WordPress language selection…

WordPress language selection
5. Then it give you some installation information …

installation info
6. Click the “Let’s go!” button.
7. Enter the database information requested…
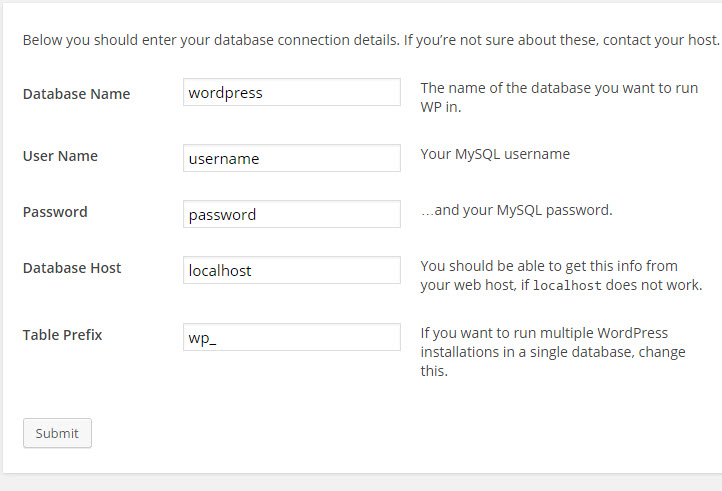
Enter database information
You will need to know the database name, database usernames, and its associated password. For database host, it is typically “localhost”. But depending on your webhost, it may not be. Ask your webhost administrator if “localhost” doesn’t work.
For better security it is recommended that you do not use the “wp_” prefix. Come up with something else instead and remember to put the underscore as the last character of the prefix. If you forget to change the prefix now, you can also change prefix after the fact by installing certain plugins as described here. There is not native admin interface to change the prefix out-of-the-box. So it is better to change it during installation.
8. When you get this message …
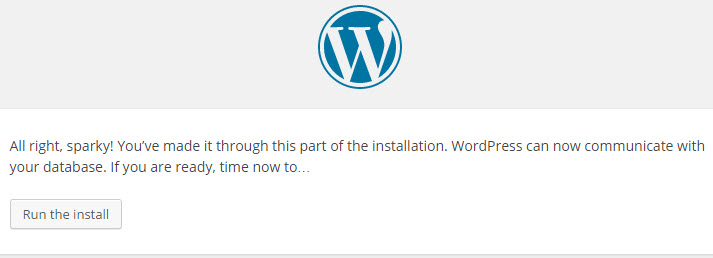
database connection successful
That means that WordPress was successfully able to connect to your database.
9. Click “Run the install” and you will get the WordPress site installation screen…
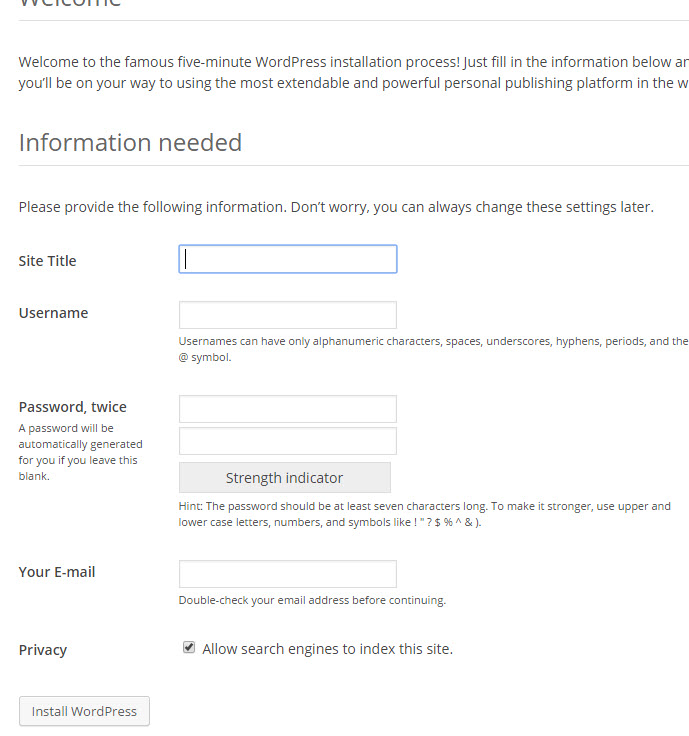
WordPress installation screen
This is where you put in your website title. The username requested is the admin username to log into the WordPress dashboard. Try not to use “admin”. Come up with something more unique to provide better security against brute force guessing by hackers.
Make the password of this admin user a strong one.
The email requested is email of the admin user and will be the email that WordPress will use to send out notifications such as new user creation and other system email messages.
After clicking the the “Install WordPress” button, you should get the “Success” message.
10. You can now log in with the admin username and password at /wp-login.php or /wp-admin as in
www.example.com/wp-login.php
11. To protect your WordPress site, I recommend installing a security plugin such as WordPress iThemes Security plugin and enable the limit login attempts.
Related Posts
Tags
Share This

