How to Get Started with Android Development
Posted in Articles


This is a very general overview of what is involved in getting started with Android development. Android programs are written in Java. First we have to set up our development environment. This article is relevant at the time of December 2013.
1. Download and install Android SDK (SDK stands for software development kit) from here. Use the 32-bit or 64-bit appropriate for your Windows machine. You will be installing ADT Bundle (Android Development Tools). File Checksum Integrity Verifier from Microsoft to confirm the MD5 checksum to ensure you package downloaded fully. This package includes Eclipse with the Android plugin. The SDK also contain an emulator. And you have the SDK Manager.
2. Download and install the Java SE Development Kit 6u45 Even though this is not the latest version, it is the version specified in the Android SDK. Select the matching 32-bit or 64-bit. Signing up for an Oracle account is needed. This will install Java and you can see version by typing “java -version”
3. Start Eclipse. If you see “Android Developer Tools” splash screen, that indicates success.
4. In Eclipse, select a workspace. Cancel out of the Start New Android App screen. And via the “Windows” menu go into the Android SDK Manager.
5. Here we select packages to be installed. For this particular example, I have the following installed…
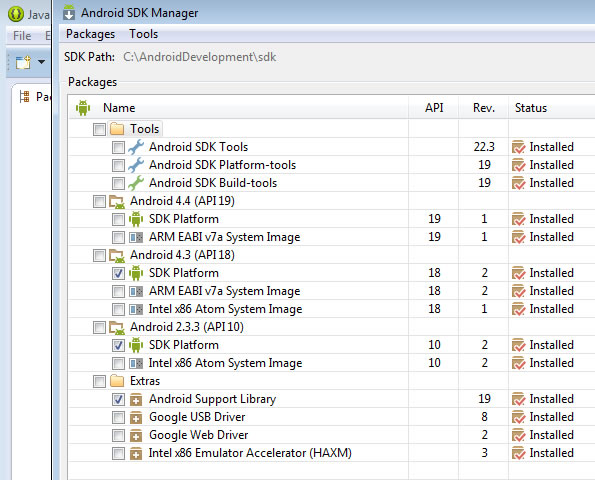
Android SDK manager
Although it show HAXM installed in the above screen, we actually have to install it by running IntelHaxm.exe from sdk->extras->intel-> Hardware_Accelerated_Execution_Manager…
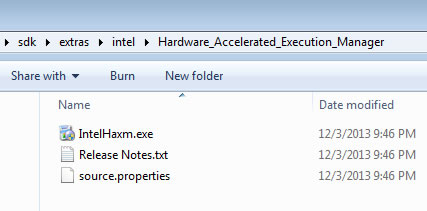
HAXM install
During this install on Windows, you may get the error …
“This computer meets the requirements for HAXM, but Intel Virtualization Technology (VT-x) is not turned on.”
which means that you have to turn it on in the BIOS during the boot sequence.
6. Next create new Android Virtual Device using the “Android Virtual Device Manager”….
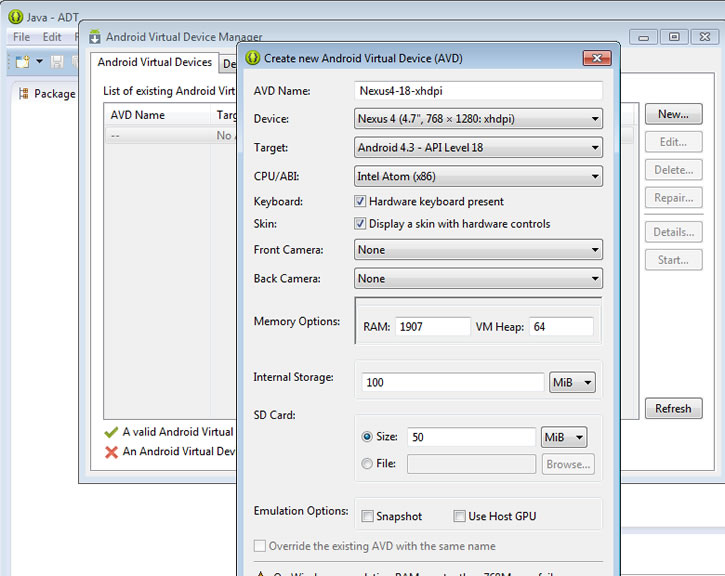
Android virtual device
To launch the virtual device, click the start button and then launch.
7. You can try using the emulator to sending a text message to another emulator. The port number at the window chrome of the emulator is the number to send to (for example 5554 or 5556). Ctrl-F11 rotates the emulator as found here.
8. You can also telnet to your emulator by opening a terminal or cmd windows and typing …
telnet localhost 5556
where 5556 is the port of your emulator.
9. When in telnet session, typing Help give you available command. One of which is sending sms text to your emulator by …
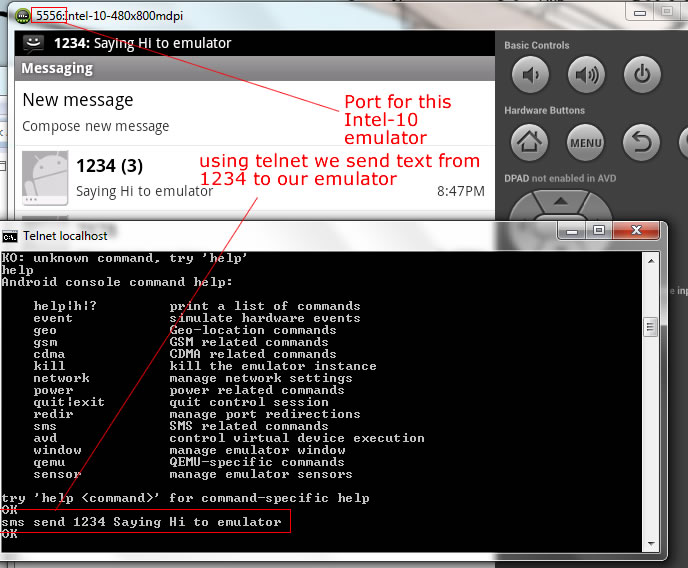
telnet to emulator
10. Instead of texting your emulator, you can simulate an incoming call to your emulator from phone number 789-1234 by …
gsm call 7891234
To hang up on the emulator …
gsm cancel 7891234
11. Another useful command to type in your telnet session is …
power capacity 10
This makes your emulator have battery level at 10%, simulating a low battery state.
12. You might notice that you can not re-size the window of your emulator by mousing. But you can do so by …
window scale 0.5
in your telnet session.
13. In eclipse “Windows -> Show View”, bring up Console and LogCat (under others and search) and Devices view (under Android view category). Save this perspective.
14. With an Emulator running, internal messages show in LogCat.
15. In the Devices tab, you can “reset adb” if connection gets lost. Or you can take screenshot of your emulator…
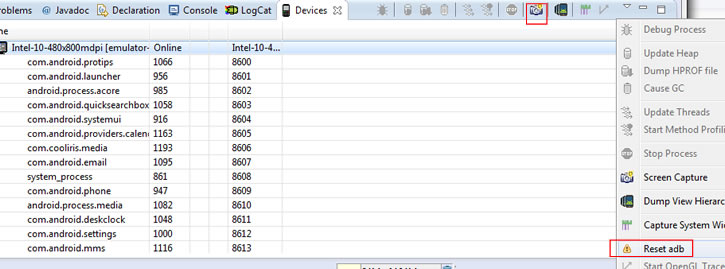
devices view
16. Now we create a new eclipse project. Do “file->new -> Android application project” …
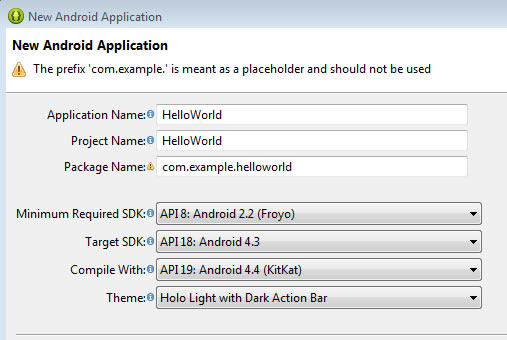
new android project

Go with an icon and the default blank activity. And eventually you get …
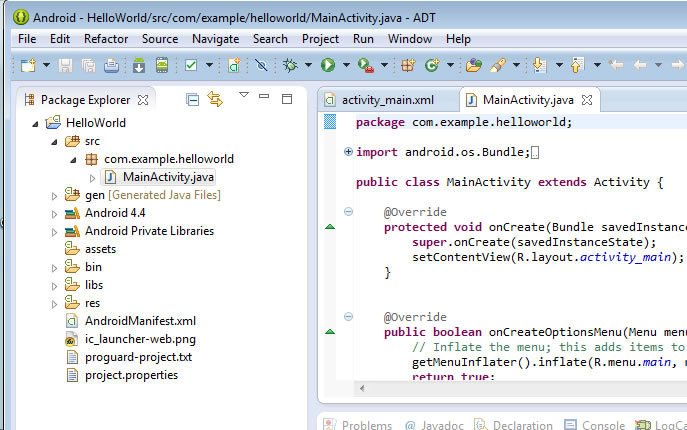
new android project in eclipse
17. Sometimes if things don’t work smoothly, you can try “Project -> Clean” in Eclipse.
18. To compile and run, right-click on the project and select “Run As -> Android App”. It will launch the emulator.
Related Posts
Tags
Share This

