How to Assign a Domain Name to a Web Host
Posted in Tutorials


When we say “How to Assign a Domain Name to a Webhost”, there are many different scenarios depending on whether the domain name is registered with the same company as the web host or not. And whether this is going to be a primary domain name and or “add-on” domain name.
In this tutorial, we are talking specifically about assigning a domain name purchased on GoDaddy to an “add-on” website to be hosted by Hostmonster. This is not going to be a primary domain name. We already have a primary domain name and website hosted by Hostmonster. Hostmonster lets you host multiple websites in one account. We purchased another domain name from GoDaddy to point to a second website to be hosted on the same account by Hostmonster. GoDaddy would be our “domain name registrar”. Hostmonster would be our “web host”.
1. First we determined the name servers of our web host Hostmonster. Name servers are what translate a human readable domain name to IP address. In Hostmonster account, go to “Domains” section, click around until you find the “Name Servers” tab that looks like this …
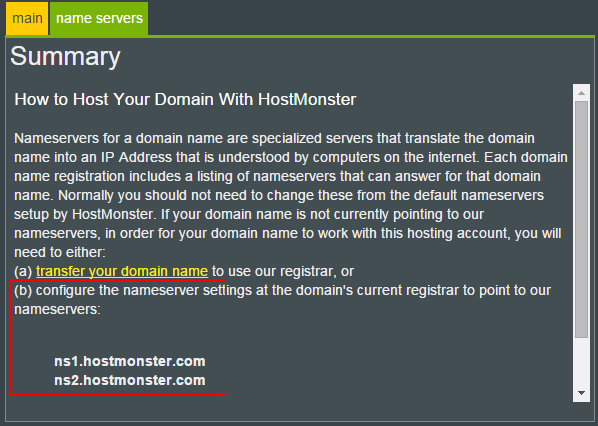
name servers
Instead of choosing option (a) where we transfer the domain name from GoDaddy to Hostmonster, we choose option (b) where we configure GoDaddy’s nameserver settings to point to Hostmonster’s nameserver which are shown to be “ns1.hostmonster.com” and “ns2.hostmonster.com”. Typically, there is always two nameservers.
2. Now we go into our GoDaddy account and go to “Products -> Domains” and click the Manage button…

GoDaddy domains
Then we will select our domain name and click “manage” in the Nameservers section and enter Hostmonster’s nameserver as shown …

3. Going back into Hostmonster account under the domain section, we need to assign a domain to Hostmonster by clicking “Assign a domain to your cPanel account”

assign domain to host
4. Although it can, the domain name need not be registered with Hostmonster. In our case, it is registered with GoDaddy. So in step one of the wizard, we enter our domain name in the second box …
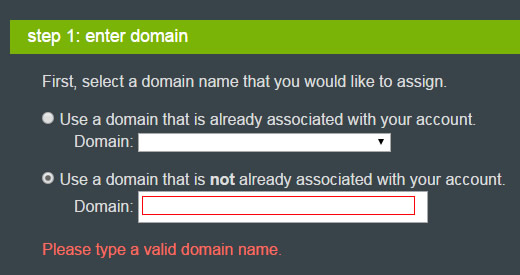
enter domain name
5. In step 2, it verifies that we have set the nameservers in GoDaddy correctly.
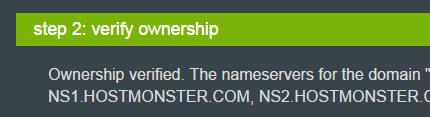
step 2
Sometimes you have to give it some time before these changes take effect.
6. In step 3, we choose add-on domain.
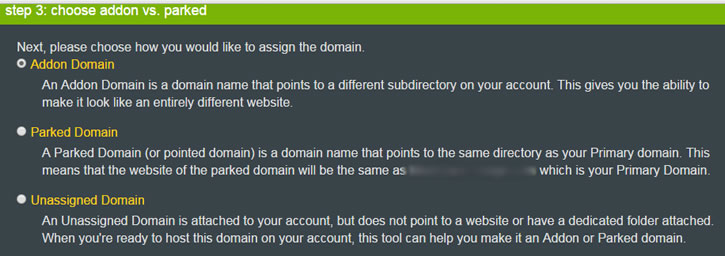
choose add-on domain
This lets us assign the domain to a particular subdirectory of our web host, thereby letting us create a completely different second website.
7. In step 4, we get to select this subdirectory …
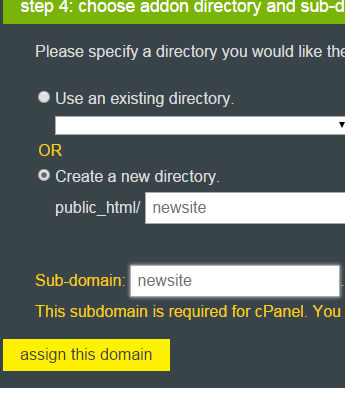
assign to new directory
A sub-domain is necessarily created as well.
8. After clicking “assign this domain” button, give it some time and you should see your domain in Hostmonster looking like …

add-on domain name
9. That’s it. We can start putting files in the new directory and that will be our new second website.
Related Posts
Tags
Share This

