How to Add AdWords Conversion Tracking to your site
Posted in Tutorials


If you are using Google AdWords for online advertisement, you might want to implement the AdWords conversion tracking to see how effective your campaign is doing in converting visits into sales.
In short, conversion tracking tells you what happens after a visitor clicks on your Google Adwords ad. Do they eventually buy your product, fill out a form, or sign up for a newsletter? If they performed this action that you wanted them to, that means that you got a “conversion” — conversion from a visitor to a buyer. Google AdWords conversion tracking is a free tool that enables you to determine this conversion rate. With this information, you can better know which keywords, ads, or campaigns are most effective and improve your ROI (return on investment).
It involves adding a code snippet provided by Google AdWords and adding it to selected locations in the HTML of your website. Typically, it is placed on the page that occurs after a conversion action happens. For example, a thank you page after a purchase. Because this payment thank-you page is visible only after a customer makes a real purchase, your developer may need to make some test purchases on your site in order to instrument this code.
You might need a web developer to add this code to the site for you. But first you need to provide your developer with the code snippet which is unique to your particular AdWords account and campaign.
As a quick overview, you should read over this AdWords article here and watch this video tutorial by Google Adwords on conversion tracking…
In this tutorial, we will show you how to obtain this code snippet for your developer.
1. Go to http://adwords.google.com
2. Log in with your Gmail account.
3. In Google Adwords dashboard, go to “Tools -> Conversions” …
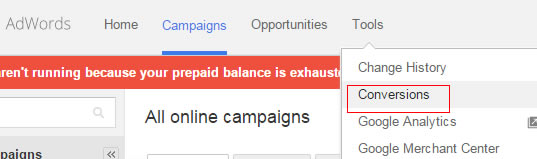
tools conversion
4. Click the “+ Conversion” button…
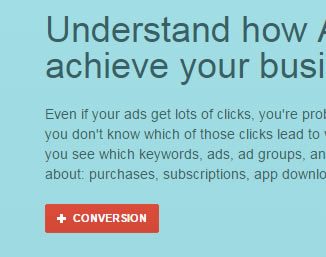
Press the Conversion button
5. For the purposes of this example, suppose we want to track website purchases. So we click the following …
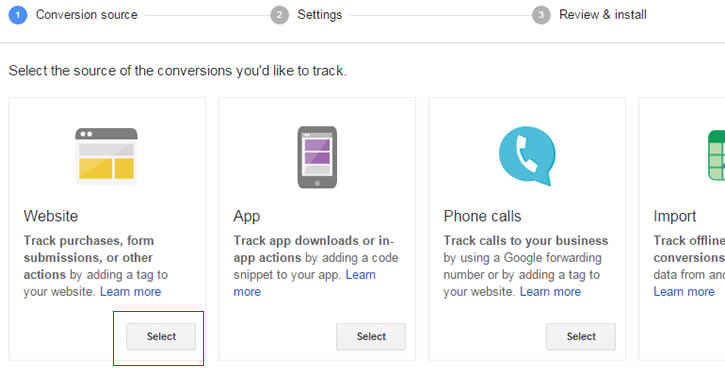
track website purchases
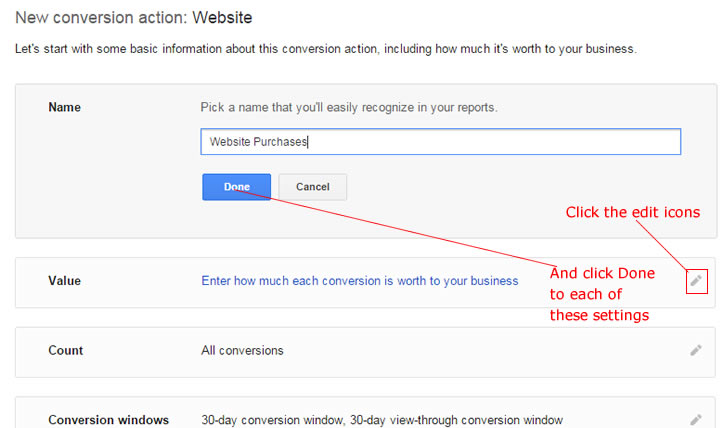
6. Click the edit icons for each of the following settings …
Edit settings
Remember to click the Done button for each.
The “Name” is the name that will show up in your conversion tracking report. Give it the name “Website purchases”.
7. The “value” is the rough profit that you make off of each conversion (in this case, each purchase). If you are lumping all purchases as having roughly the save value (which is simpler to start off with), then just give an average profit for all your various products. This is the first option as shown below…
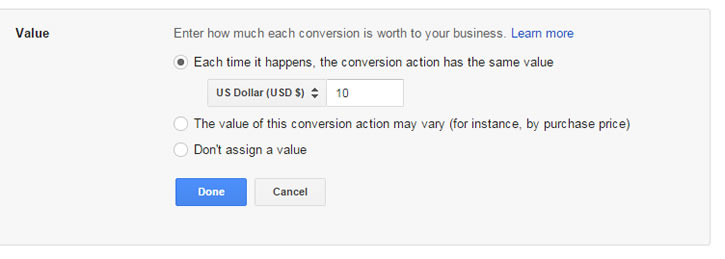
Setting a value
In our example, we will say that each conversion is worth $10 for us. Your value may differ.
I understand that the profit is different for each product. That is what the second option is for. But this second options is more of a hassle for you to configure and it requires additional coding on the developer’s part. If you are just starting out, easier to go with the first option.
Alternatively, you can not bother and just select the third option of “Don’t assign a value”. It will still tell you how many conversions, just not the ROI of your campaign.
8. For the “Count”, “Conversion Windows”, and “Optimization”, just leave it as the default values as shown below…
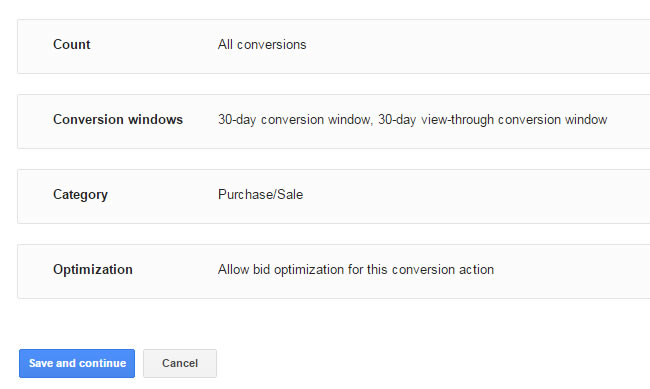
Typical settings
For “Category” we selected “Purchase/Sale” because that is what we are tracking for.
9. Click the “Save and Continue” button.
10. And you will be shown the code snippet …
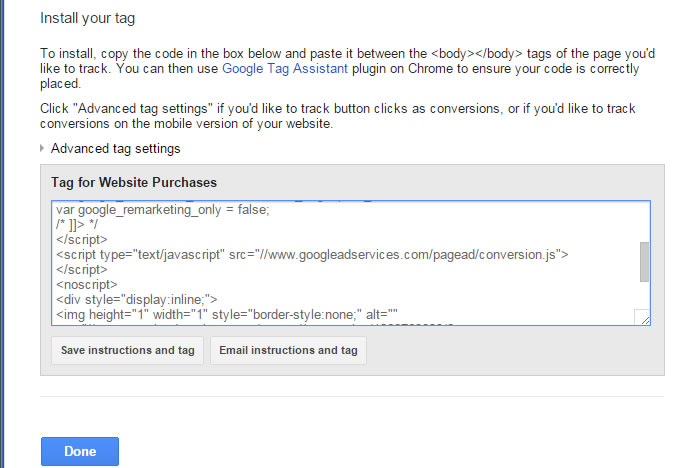
Installing code snippet
Remember that this code snippet is unique to you. As we are just learning, don’t worry about the “Advanced tag settings”. Just click the “Save instructions and tag” button (shown above). This saves out a test file to your computer which you can then send to your developer. Alternatively, you can click “email instructions and tag”.
Remind him or her that they can use the Google Tag Assistant plugin for Chrome to ensure that the tag is installed correctly.
11. Click the “Done” button and you’re done. After the code snippet is installed, give about a day or two to start seeing conversions statistics showing up in your AdWords reports, which you can access from “Adwords dashboard -> Tools -> Conversions” …
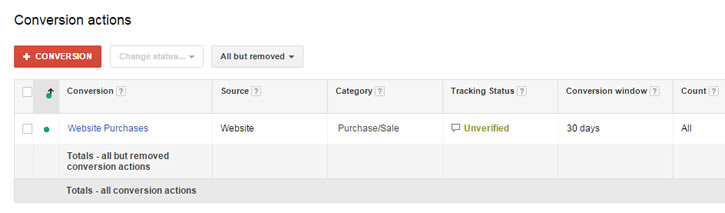
conversion report
See that the report shows the “Tracking Status”. Allow 48 hours after your developer installed the code to see the status get updated so that you can confirm that tracking is working. If the status doesn’t get updated after 48 hours, tell your developer.
Related Posts
Tags
Share This

